Preparing Illustra cameras for Network Loss Recording with exacqVision server.
Configuration steps for Network Loss Recording recording:
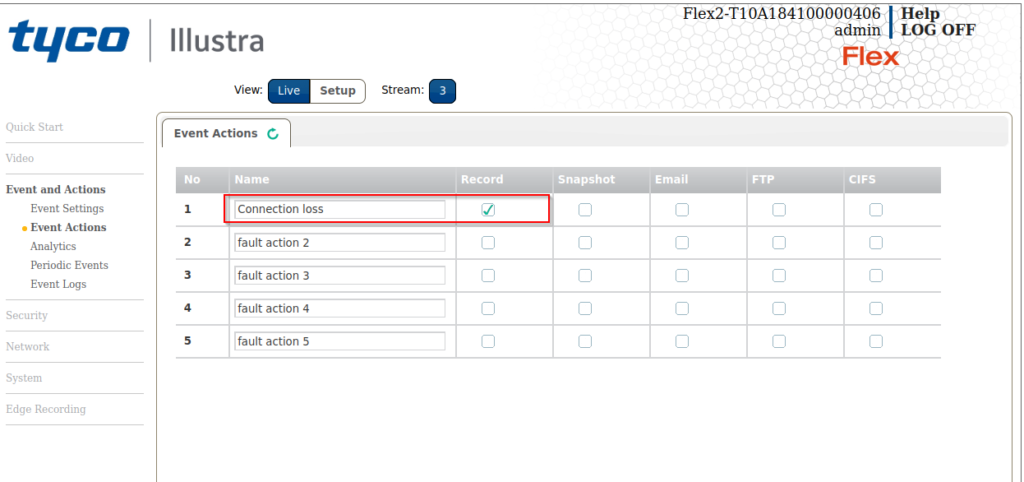
- Go to the camera’s web page. Under “Event Actions”, check the “Record” option for at least one of the fault action Names.
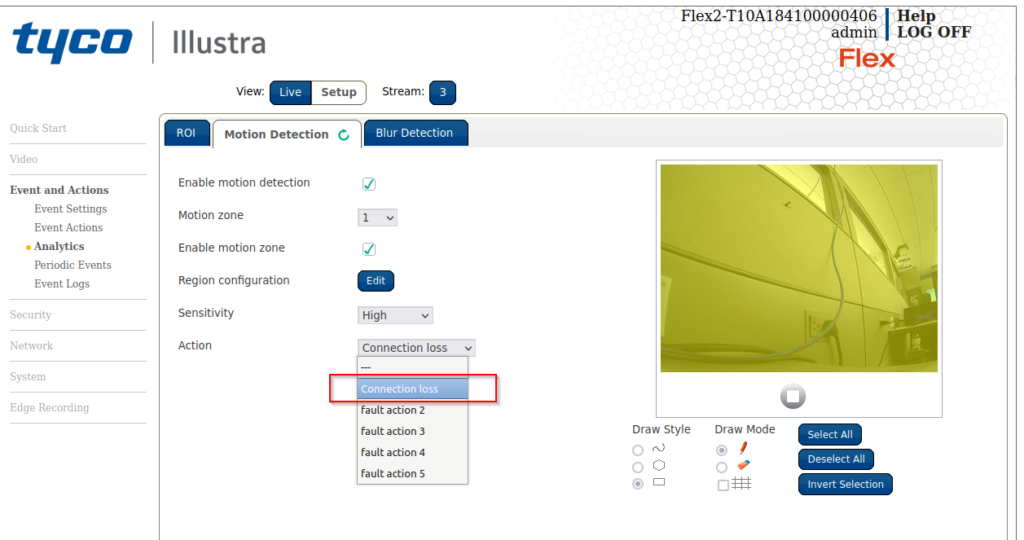
- Under Analytics, Client the “Action” dropdown and select the Name you just enabled above.
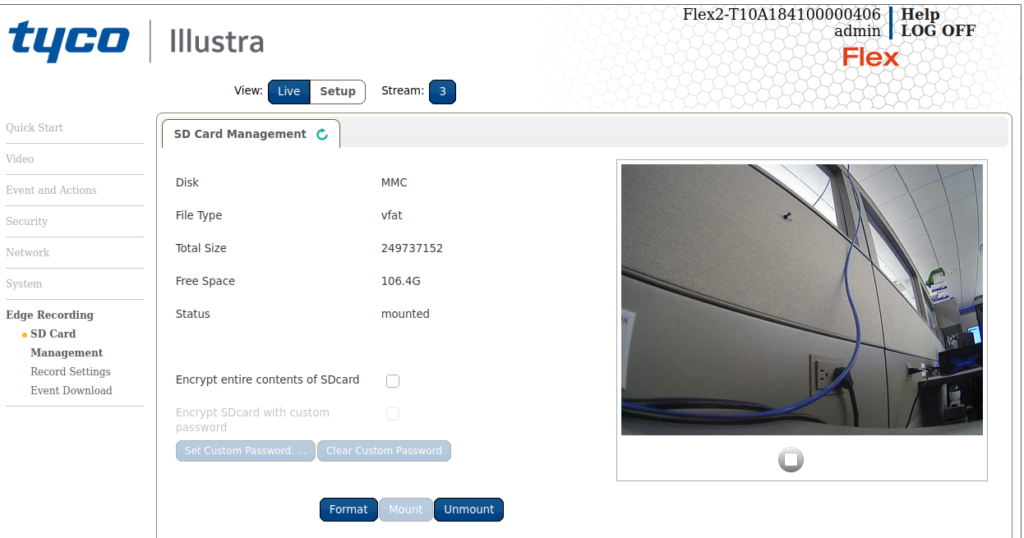
- Ensure a Micro SD card is installed to the camera, then go to the Edge recording section. Format the SD card with vfat from the “SD Card Management” tab.
NOTE: Don’t check the “Encrypt entire contents of the SDcard”
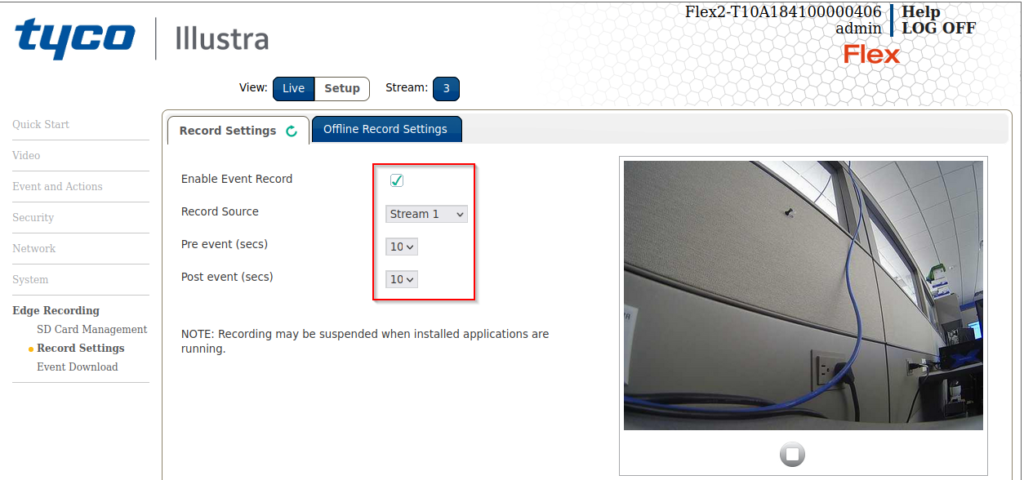
- In “Record Settings”, Check the box for “Enable Event Record” and select the “Record Source” that exacqVision is currently recording. Set the Pre and Post to 10 seconds.
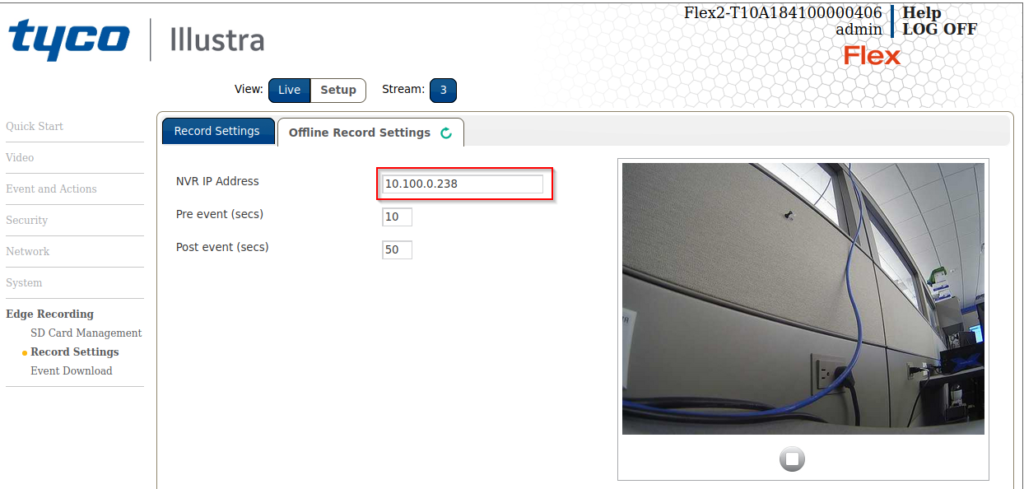
- Under “Offline Record Settings”, set the NVR IP address to which the camera is connected, then set the pre and post-seconds.
- Disconnect and re-connect to the camera in in exacqVision on the “Add IP Cameras” page
- To confirm that the camera is now storing recordings for exacqVision to request, (back in the camera’s web GUI) go to the Event Download tab. Confirm that there is a new file with the appropriate time stamps..
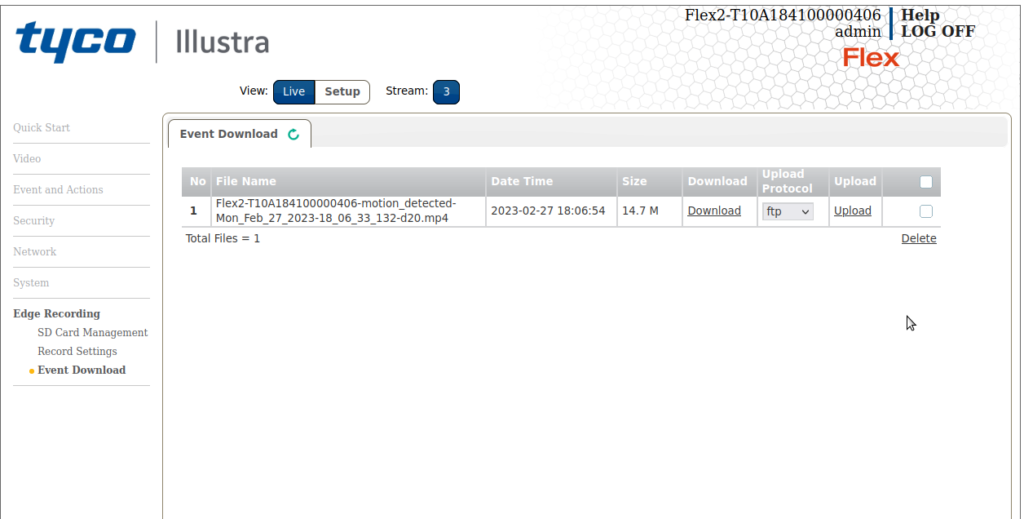
Note: There must be motion during the downtime to have the camera record to the SD card. The resulting file will be requested by exacqVision after re-connection.
Note:Network loss recording will not be triggered on a Server restart only motion can be triggered for this event.