To install a replacement drive in an exacqVision system with an LSI 3ware RAID array, complete the following steps.
<br>
NOTE: This procedure requires a Phillips-head screwdriver and approximately 20 minutes to complete.
<br>
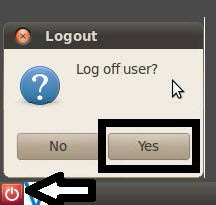
If applicable, close the exacqVision Client software, log out of the operating system user account, and log in as an administrator. To log out in Windows, click Start and then Log Off; to log out in Linux, click the power icon and then Yes. Then select the administrator account and enter the admin password to log in.
<br>

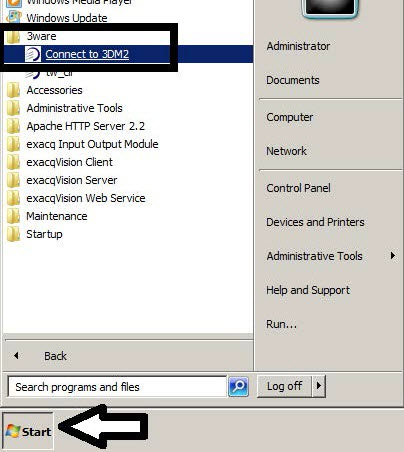
Exit exacqVision Client and open 3DM2 so that you can verify the drive that needs to be replaced. To open 3DM2 In Windows, click Start/Programs/3Ware/Connect to 3DM2; to open 3DM2 in Linux, select the Mozilla Firefox icon in the menu bar.
<br>

Select Continue to this Website.
<br>

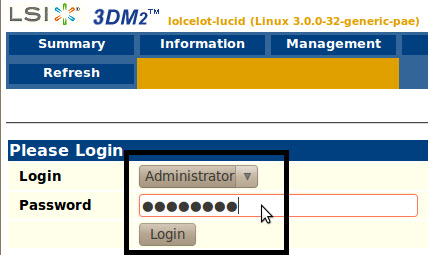
Select Administrator from the Login drop-down list and type admin256 as the password.
<br>
Select Maintenance from the Management menu.
<br>

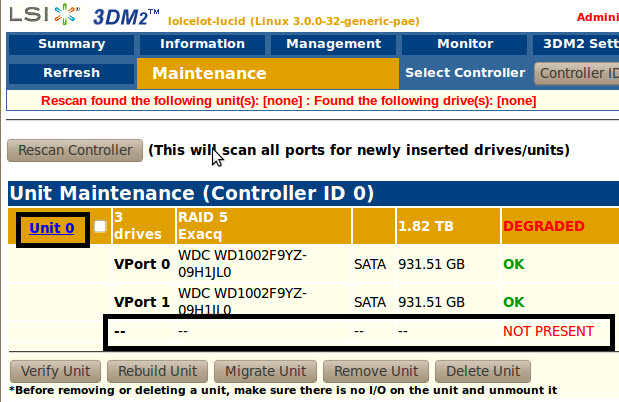
Verify the drive to be replaced. Note that the drive numbering begins with zero; thus, if the page indicates that drive 3 is not present, replace the fourth physical drive.
<br>
Remove the drive to be replaced. Unlock the drive bay containing the drive by sliding the latch to release the caddy. It could look like either of the following examples.
<br>
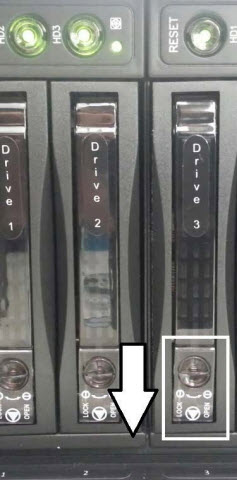
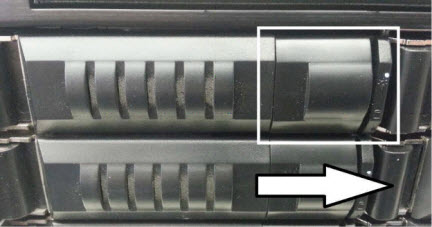
Remove the drive by sliding it toward you.
<br>
Use the screwdriver to remove the four screws from the sides or bottom of the drive caddy.
<br>
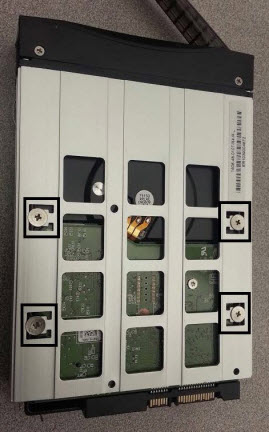
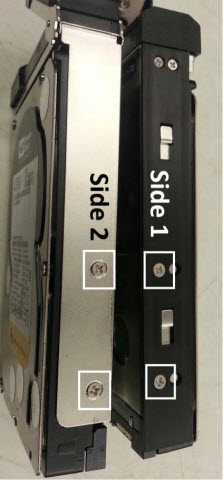
- Remove the drive from the caddy and place the new drive in the caddy. Secure the drive to the caddy using the screws removed earlier.
- Insert the new drive and caddy into the system and lock the latch down. The drive will provide some resistance when the drive reaches the back of the slot. DO NOT FORCE THE DRIVE INTO THE SLOT.
- Verify that the power light (white or green) has been activated for that drive slot.
- Open 3DM2 as instructed previously.
NOTE: If using Internet Explorer, you might need to enable Compatibility Mode by clicking the broken page icon:
<br>

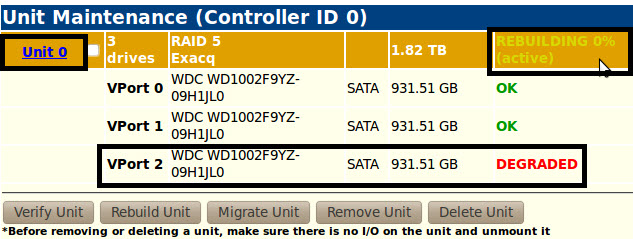
Verify that the drive array is rebuilding.
<br>
Close the browser and open exacqVision Client.
<br>