Categories
Video Library Configuration exacqVision Client exacqVision Server Youtube Video Library Categories Products

System Configuration

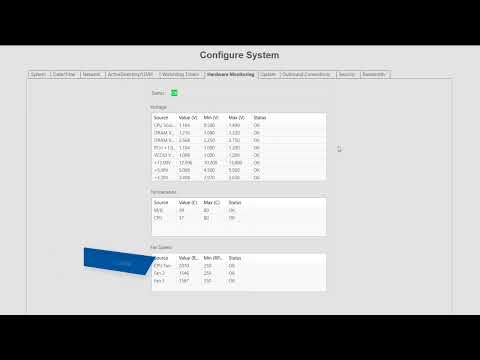
Get acquainted with the numerous server configuration settings available through the Configure System page in ExacqVision. The Configure System page features a large number of tabs to navigate between system settings. The System tab displays the license status, number of IP devices licensed for the system, the MAC address and serial number, and controls to enter or import the license key. Additionally, customize the system name, global control timeouts and choose to export system configuration for safe keeping or importing a backup configuration. Use the Date/Time tab to configure the server’s time settings, including whether or not to utilize an external NTP service. The Network tab is where you may configure the IP settings for the network interfaces on the system. Select between dynamically assigned IP addresses or static address and set any static IPs needed. Connect your ExacqVision system to an Active Directory or LDAP server to take advantage of managing user accounts from your directory service. Apply ExacqVision Server updates and view version and update information on the Update tab. Set user account security policy through the Security tab, including the ability to lockout users after a number of incorrect login attempts, lockout accounts after a number of inactive days, or force password expiration to require users to regularly change their login passwords.
Categories
Knowledge Support Support exacqVision Server Categories Products

Configure the network address of an Illustra Edge camera

Affected platforms

Illustra cameras running the exacqVision Edge application in non-DHCP environments

<br>

Description

In a non-DHCP environment, a factory default Illustra camera will acquire a known IP address of 192.168.1.168. Follow these steps to assign the desired IP address to the edge camera:- Connect the Edge camera to the network.

  • Connect a computer to the same switch as the edge camera.
  • On the computer, note your existing network settings and then change the network adapter settings to the following:
  • Assign a static IP to one of the adapters matching 192.168.1.x, where  x is a number 1-254.  Make sure this address is not already used by another machine on the network.
  • Download and run the Illustra Connect Tool utility from Illustra Software Downloads
  • Once it discovers the Edge camera at address 192.168.1.168, set the network configuration to the desired IP address.
  • Reboot the camera.
  • Change the computer network adapter settings back to the original IP address.
  • Use the IP address to connect to exacqVision Edge server with the exacqVision client.

<br>