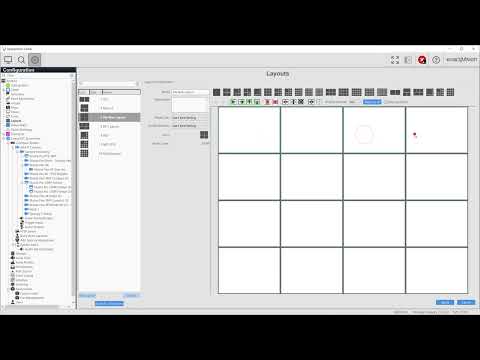
Description The following instructions and resources can be used to configure a Video Wall using VideoPush in exacqVision. Product Solution Enable Video Push Video Push must be enabled for each client which will be part of the Video Wall. Layouts If one of the provided templates does not reflect your video wall configuration, use Layouts… Continue reading How to Create a Video Wall in exacqVision Using VideoPush
Tag: Layouts
Layouts
Layouts are used to create the arrangement and sizes of video panels in ExacqVision Live mode as well as in saved Views. Learn to create your own custom layouts with this guide.
Exacq Mobile 3 Displays Cameras Out of Order in Views or Layouts
Description For Customers reporting issues with the mobile application where views are not looking the same as they do in the client.Note: Layouts with certain views will be affected by this as well. Product Exacq Mobile 3 application all versions. Steps to Reproduce On the mobile app open a view.Hold the mobile device Vertically.The view… Continue reading Exacq Mobile 3 Displays Cameras Out of Order in Views or Layouts
