Categories
User Guides Video Library Configuration exacqVision Client Illustra exacqVision Server Youtube Video Library Categories Products

How to Add IP Cameras – Quick Add

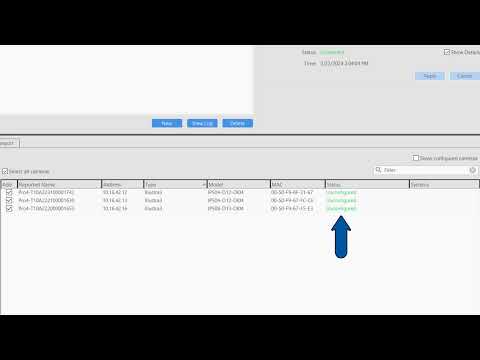
Learn how to use the new Quick Add feature, introduced in exacqVision Server/Client 24.03 to remove the multistage process of setting up and adding new cameras to your exacqVision system. Quick Add combined with the Illustra Registration License tool provide an easy to use experience when pairing Illustra cameras with Exacq.

For a written article of these steps, see the Add IP Cameras – Quick Add article.

<br>

Categories
Video Library Knowledge Support Demo Support exacqVision Client exacqVision Server exacqVision Mobile Categories Products

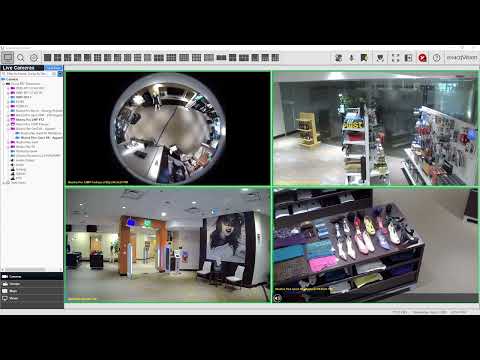
2024-03 March Exacq Release Training

This training covers the following topics:

Quick Add – Requires exacqVision Server and Client 24.03 or higher. Supports only Illustra Flex and Pro Gen 3/4 cameras.

Architecture changes – Changes made in how the new exacqVision Mobile app connects to exacqVision Server and when exacqVision Web Service is still required.

Remote Connectivity – Provided for exacqVision Mobile support. Requires exacqVision Server and Client 24.03 or higher.

exacqVision Mobile – Demo of new exacqVision Mobile app, including navigation, creating Views, use of Focus View, saving and exporting clips, adding servers, audio, and PTZ.

<br>

Categories
Video Library Demo Highlighted Video Guides Illustra exacqVision Server Youtube Video Library Categories Products

exacqVision Illustra License Registration

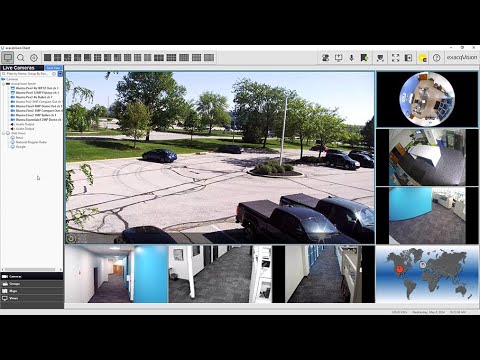
Use the exacqVision Illustra License Registration tool to claim your complimentary exacqVision license for eligible Illustra cameras.
Categories
Video Library Configuration Demo Illustra exacqVision Client Youtube Video Library Categories Products

Exacq Scenario Series – Illustra IQ Perimeter Object Classification to Change ExacqVision Views
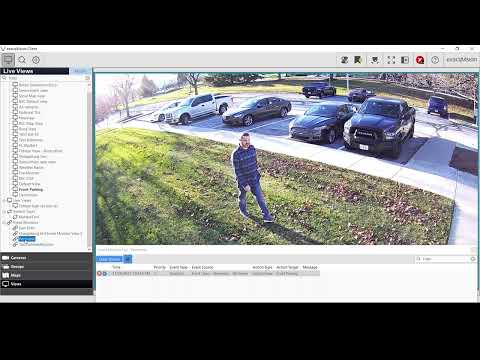
The Scenario Series of videos addresses setup configurations for specific use cases. In this video our scenario is that of a user that wants to use Event Monitoring to bring attention to an ExacqVision operator when a perimeter area is crossed. This could be used to monitor property and fence lines. We walk through setting up AI Object Classfication within an Illustra IQ camera and configuring Event Monitoring in ExacqVision to change our displayed camera views when triggered.
Categories
Configuration Video Library Demo exacqVision Server Youtube Video Library Categories Products

Webhooks

Unleash the power of webhooks using your ExacqVision software to control IoT devices, smart building controls, and more. ExacqVision allows users to implement soft triggers, camera associations, and automate issuing webhook commands on triggered events. <br>
Categories
Configuration Knowledge Support Video Library Support exacqVision Server Categories Products

2023-10-17 – Global Exacq Support Training – Troubleshooting Camera Connections

Categories
Knowledge Support Video Library Configuration Support exacqVision Server Categories Products

2023-09-19 – Global Exacq Support Training – Serial Data

Categories
Video Library Configuration Demo Illustra exacqVision Client Youtube Video Library Categories Products

Scenario Series – Illustra IQ Object Classification to Change ExacqVision Views

<br>

The Scenario Series of videos addresses setup configurations for specific use cases.

In this video our scenario is that of a user that wants to use Event Monitoring to bring attention to an ExacqVision operator when someone parks in specific parking spaces. This could be used to prevent people from parking in forbidden areas, to alert someone to customers in curb-side pickup spots, and more.

We walk through setting up AI Object Classfication within an Illustra IQ camera and configuring Event Monitoring in ExacqVision to change our displayed camera views when triggered.

<br>

Categories
Video Library Configuration Cloudvue Cloudvue Access Control Youtube Video Library Categories Products

Adding a Kantech KT-1 with ioSmart Reader to Cloudvue

This video will walk you through connecting a Kantech KT-1 controller using an ioSmart Reader to Cloudvue. Be sure you have followed the steps in a separate video on configuring the KT-1 Controller for Cloudvue Mode before proceeding.


  • After connecting your ioSmart Reader to the KT-1 controller, connect the system to your network to communicate with Cloudvue.
  • Add the ioSmart Reader to the account before adding the KT-1 controller.
  • Press the Account button, then choose the Devices tab.
  • Click the Add New Device button and select Add Mobile Access Device.
  • Enter a Name.
  • Enter the Serial Number, located on the back of the reader, followed by a dash and the confirmation code, also on the back of the reader.
    Example: 123A456B-CD78
  • Select Function Mode. Choose Panel Based (Mobile Credential Reader) when using with a controller, such as the KT-1.
  • Panelless installations of ioSmart Readers do not have controllers, such as the KT-1, they are standalone readers.
  • Select the Location.
  • Save changes.
  • Add the KT-1 Controller. Return to the Devices tab and press the Add New Device button, then select Add Access Control Device.
  • With the controller added, enter the controller’s settings to associate the ioSmart Reader with the controller. From the settings page, select the Readers tab.
  • Check the Mobile Credentials box, allowing uses to use the Cloudvue Access mobile app as well as cards and fobs.
  • Use the drop-down selector beside the ioSmart Serial number field to select the previously configured ioSmart Reader.
  • Click Save.

<br>

Categories
Video Library Cloudvue Installation Cloudvue Access Control Youtube Video Library Categories Products

Kantech ioSmart Reader Firmware Update Tool

This video walks users through the process of updating the firmware of ioSmart Readers using the ioSmart Reader Firmware Update Tool over an RS-485 connection.


  • A Kantech ioSmart Reader’s firmware can be updated through a connected controller, such as the KT-1.
  • There may be situations where you wish to update several readers prior to deployment or when performing a panelless deployment where you do not have a controller. Firmware may be updated over RS-485 using Kantech’s ioSmart Firmware Upgrade Tool.
  • You will need an RS-485 output device such as the Kantech USB-485 module. This device connects to a PC’s USB port and provides RS-485 output terminals to connect to the reader. You can also achieve this with many third-party USB and RS-232 to RS-485 converters.
  • Login to Kantech’s website and navigate to Software Downloads. Click to expand Door Controllers and Readers before selecting ioSmart.
  • Download the latest ioSmart Reader firmware as well as the ioSmart Reader Firmware Upgrade Tool.
  • Extract the ioSmart Reader firmware from the downloaded ZIP file.
  • Connect the converter module to your PC.
  • Locate the COM port used by your PC using Device Manager. Note the COM port used by the converter module.
  • Use some spare wire or low voltage jumper wires to connect the converter to the terminals on the back of the reader.
    • If using Kantech’s USB -485 module:
      X+ to D1/X+
      X- to D0/X-
    • If using third-party converter:
      TX+ to D1/X+
      TX- to D0/X-
  • Provide 12 VDC power to the reader. Connect the positive wire to the PWR terminal and negative to GND.
  • Run the ioSmart Reader Firmware Upgrade Tool. The first time it is run it will warn it cannot find the Defaults file, this can be ignored.
  • Use the drop-down menu to select the COM port you noted earlier in Device Manager. Test the connection using the Get FW Version button. Wired correctly, this should return the version currently loaded on the reader.
  • Click the Firmware Upgrade button, then select the extracted firmware file from the ZIP file with the .BIN file extension.
  • Clicking Open will begin the update immediately.
  • When the upgrade is finished a Success message will appear. You can then close this window and the reader will restart.

<br>