This video reviews the Illustra IQ LPR model cameras for edge-based license plate recognition, covering installation best practices for reliable results and the camera’s use with the exacqVision VMS software.<br><br> Chapters:<br> 00:00 Intro<br> 00:35 exacqVision Advantage<br> 00:47 Requirements & Hardware<br> 01:27 Installation Best Practices<br> 03:48 Camera Configuration<br> 08:54 Use with exacqVision<br> <br>
Category: Installation
exacqVision System Licensing
This video will walk new system installers and users through several methods available to apply license keys their exacqVision VMS.<br><br> Chapters:<br> 00:00 Intro<br> 00:20 About License Keys<br> 00:59 exacqVision Advantage<br> 01:25 Method 1 – Import from exacq.com<br> 02:27 Method 2 – Import from Key file<br> 02:58 Method 3 – License Retrieval<br> 03:54 Method 4 –… Continue reading exacqVision System Licensing
exacqVision G-Series PoE Quick Start Video
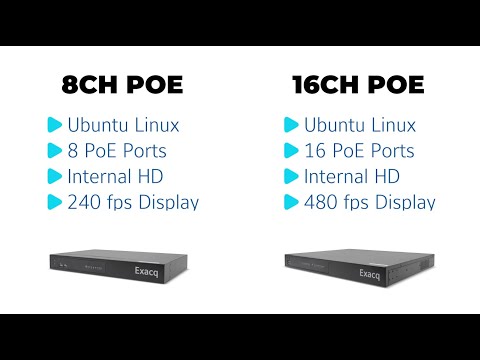
The G-Series PoE NVRs provide affordable exacqVision recorders with built-in power over ethernet capability. Follow along to step through setup and adding your PoE powered cameras to the system.<br><br> Chapters:<br> 00:00 Intro<br> 00:17 Unboxing<br> 00:41 Specifications<br> 01:10 Hardware Ports<br> 03:03 Setup & Network Addressing<br> 04:31 Licensing<br> 05:18 Adding PoE Powered Cameras<br> <br>
exacqVision G-Series Micro Quick Start Video
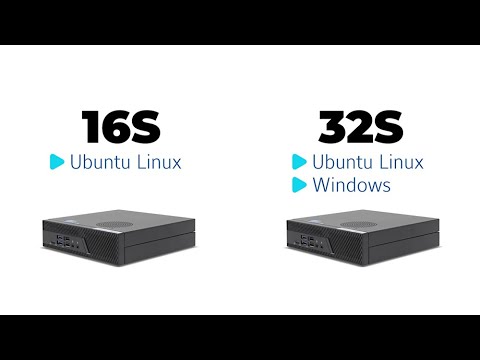
The G-Series Micro provides an exacqVision solution in an ultra-small form factor for customers who wish to leverage a smaller system design or in space-constrained locations such as retail shops, restaurants, banks, and small offices. Follow along for installation and setup.<br><br> Chapters:<br> 00:00 Intro<br> 00:22 Unboxing<br> 01:07 Specifications<br> 02:09 VESA Mount<br> 03:17 Setup<br> 04:30 Licensing<br>
exacqVision A-Series Quick Start Video
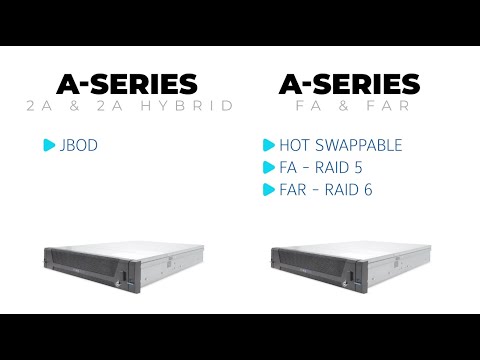
The A-Series Network Video Recorders from Exacq provide a versatile range of options and are some of the most popular choices for most users. Choosing the best model for your deployment will be largely based on your storage and configuration needs. This video compares features of A-Series NVR models and steps through unpacking and setup.<br><br>… Continue reading exacqVision A-Series Quick Start Video
exacqVision Q-Series Quick Start Video
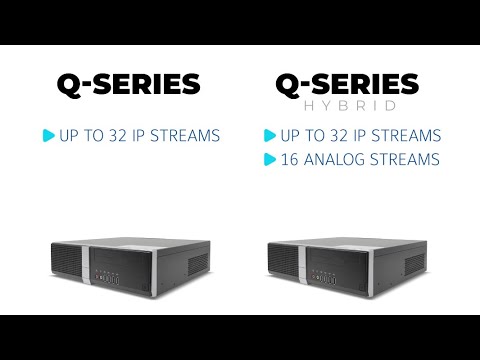
The exacqVision Q-Series brings together an optimal combination of performance and affordability into a single network video recording solution available in hybrid or standard models. This video will introduce you to the hardware and walk through initial setup.<br><br> Chapters<br> 00:00 Intro<br> 00:19 Unboxing<br> 00:38 Specs<br> 01:49 Setup<br> 03:16 Licensing<br>
exacqVision C-Series Quick Start Video
The latest C-Series systems from exacqVision provide ready-to-go live-monitoring stations for your exacqVision users, without the need to design your own systems or check specifications to display multiple video streams. These systems are built to achieve specific decoding and frame rates to meet the needs of video security users.<br><br> Chapters<br> 00:00 Intro<br> 00:27 Unboxing<br> 01:21… Continue reading exacqVision C-Series Quick Start Video
exacqVision X-Series Quick Start Video
The X-Series Network Video Recorder from Exacq provides high performance hardware with exacqVision surveillance video management software. All X-Series systems provide hot-swappable hard drives, dual, hot-swappable power supplies and mirrored operating system drives independent of video storage for continuous uptime. This Quick Start Video will introduce you to the X-Series systems and guide you through… Continue reading exacqVision X-Series Quick Start Video
Kantech ioSmart Reader Firmware Update Tool
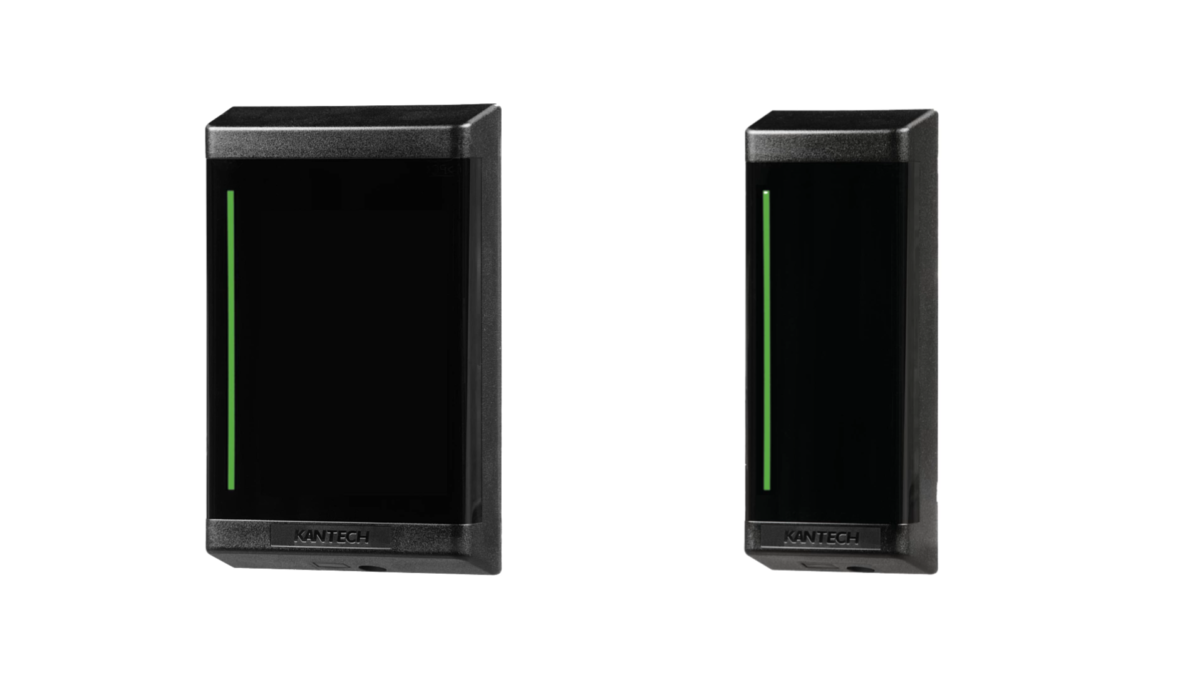
This video walks users through the process of updating the firmware of ioSmart Readers using the ioSmart Reader Firmware Update Tool over an RS-485 connection. <br>
Connecting a Louroe Base Station to an ExacqVision Hybrid NVR
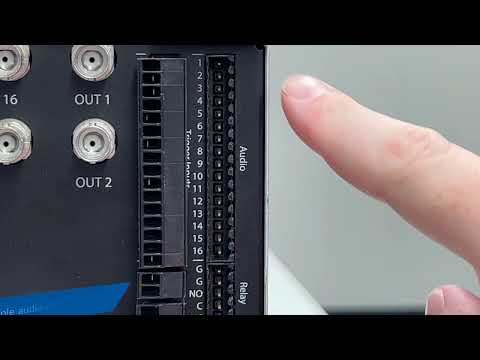
A walk through, how-to video on connecting analog audio base stations from Louroe to ExacqVision Hybrid NVRs.<br><br> See also: Line Level vs Mic Level Audio for more details on the differences in these audio signals from various devices. <br>
