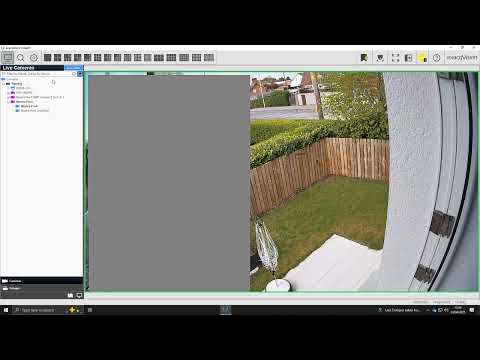
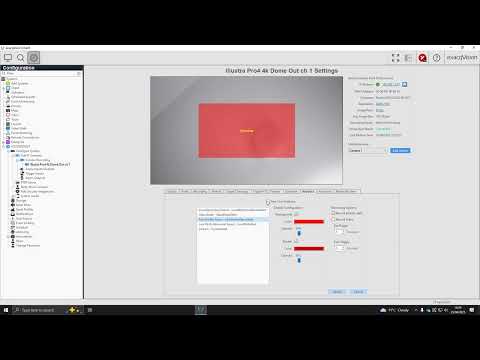
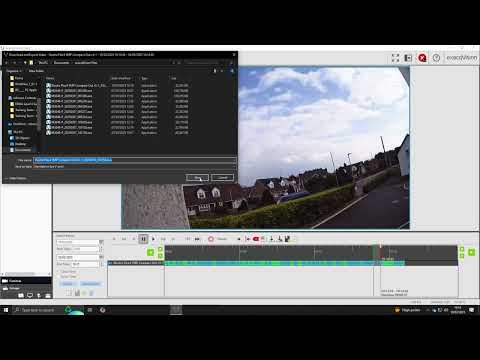
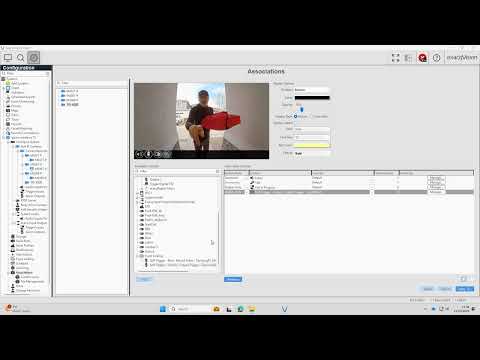
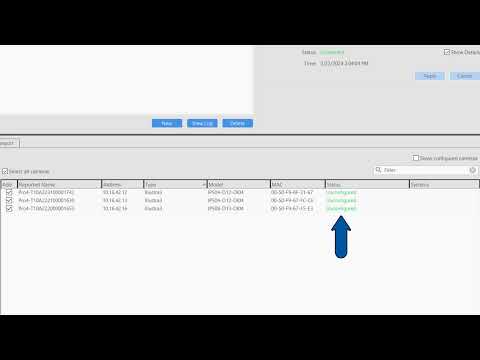
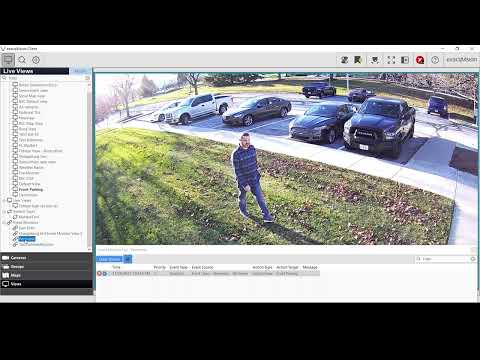
This feature included in 25H1 allows the user to integrate with the Illustra Tripwire feature.Chapters:00:00 Intro00:13 Feature Demo00:33 Configure the Illustra Camera01:42 Configure exacqVision Client02:02 Event Linking02:20 Search03:00 Live View
Category: Configuration
exacqVision Mobile – VideoPush
This feature included in 25H1 improves the collaboration between users of the desktop client and the new exacqVision Mobile app using the VideoPush feature.Chapters:00:00 Intro00:13 Feature Demo00:46 Remote Connections00:56 Configure exacqVision Mobile01:19 Scenario 1 – Sending cameras from Mobile App to Desktop Client01:51 Scenario 2 – Sending cameras from Desktop Client to Mobile App02:28 Scenario… Continue reading exacqVision Mobile – VideoPush
Illustra Audio AI with exacqVision 25H1
This feature included in 25H1 allows the user to integrate with Illustra Audio AI.Chapters:00:00 Intro00:13 Feature demo00:29 Configure the Illustra camera01:25 Configure exacqVision Client01:47 Event Linking02:06 Search
Scheduled Exports
This feature included in 25H1 allows the user to schedule exports. Chapters: 00:00 Intro 00:33 Scheduled Export menu option 00:47 Video Export 01:48 Scheduled Exports
Persistent Event Monitoring
This feature included in 25H1 allows the user to configure Persistent Event Monitoring. Chapters: 00:00 Intro 00:15 New Persistent Event Monitoring option 00:31 Disabling Persistent Event Monitoring 01:00 Attempt to close Persistent Event Monitor 01:28 Feature demo 01:36 Creating a new Event Monitoring Profile
Hanwha TID-600R Intercom with exacqVision 25H1
This feature included in 25H1 allows the user to integrate the Hanwha TID-600R with exacqVision Client.In this example we will step through an example scenario where pressing the call button or using the Touchless call setting on the intercom brings the camera to the attention of the exacqVision operator to trigger a door lock.Chapters:00:00 Intro00:12… Continue reading Hanwha TID-600R Intercom with exacqVision 25H1
Exacq Scenario Series – Audio and Email Notifications After Business Hours
The Scenario Series of videos addresses setup configurations for specific use cases. In this video our scenario is that of a car dealership that wants to play an audible alert to people on the property after hours, as well as send a notification to staff members. We walk through setting up AI Object Classification on… Continue reading Exacq Scenario Series – Audio and Email Notifications After Business Hours
How to Add IP Cameras – Quick Add
Learn how to use the new Quick Add feature, introduced in exacqVision Server/Client 24.03 to remove the multistage process of setting up and adding new cameras to your exacqVision system. Quick Add combined with the Illustra Registration License tool provide an easy to use experience when pairing Illustra cameras with Exacq. For a written article… Continue reading How to Add IP Cameras – Quick Add
Exacq Scenario Series – Illustra IQ Perimeter Object Classification to Change ExacqVision Views
The Scenario Series of videos addresses setup configurations for specific use cases. In this video our scenario is that of a user that wants to use Event Monitoring to bring attention to an ExacqVision operator when a perimeter area is crossed. This could be used to monitor property and fence lines. We walk through setting… Continue reading Exacq Scenario Series – Illustra IQ Perimeter Object Classification to Change ExacqVision Views
Webhooks
Unleash the power of webhooks using your ExacqVision software to control IoT devices, smart building controls, and more. ExacqVision allows users to implement soft triggers, camera associations, and automate issuing webhook commands on triggered events. <br>
