Categories
Video Library Documentation Quick Start Guides Installation Highlighted Video Guides Youtube Video Library Categories exacqVision Hardware Products

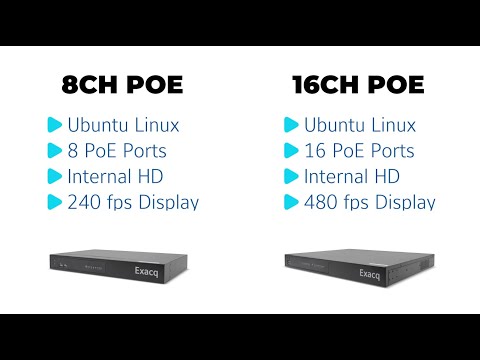
exacqVision G-Series PoE Quick Start Video

The G-Series PoE NVRs provide affordable exacqVision recorders with built-in power over ethernet capability. Follow along to step through setup and adding your PoE powered cameras to the system.<br><br> Chapters:<br> 00:00 Intro<br> 00:17 Unboxing<br> 00:41 Specifications<br> 01:10 Hardware Ports<br> 03:03 Setup & Network Addressing<br> 04:31 Licensing<br> 05:18 Adding PoE Powered Cameras<br> <br>
Categories
Video Library Documentation Quick Start Guides Installation Highlighted Video Guides Youtube Video Library Categories Products exacqVision Hardware

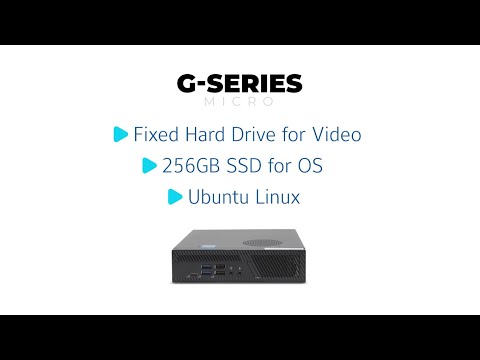
exacqVision G-Series Micro Quick Start Video

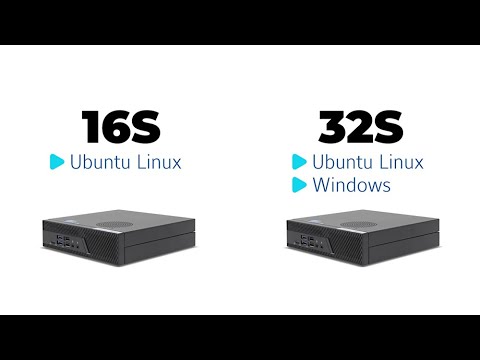
The G-Series Micro provides an exacqVision solution in an ultra-small form factor for customers who wish to leverage a smaller system design or in space-constrained locations such as retail shops, restaurants, banks, and small offices. Follow along for installation and setup.<br><br> Chapters:<br> 00:00 Intro<br> 00:22 Unboxing<br> 01:07 Specifications<br> 02:09 VESA Mount<br> 03:17 Setup<br> 04:30 Licensing<br>
Categories
Documentation Quick Start Guides Categories Products exacqVision Hardware

Installing A-Series Rails on Racks with Threaded Round Holes

The rack mount rails that ship with exacqVision A-Series NVRs are designed to be toolless when used with server racks that have square or unthreaded round mounting holes on the rack uprights. The following guide describes how to adapt these rails, using tools, for use with rack uprights with threaded round screw holes.

  1. Examine the each end of the rail and take note of the pegs, as indicated in the illustration below.
  1. Insert a Phillips-head screwdriver into the slot at the end of each peg and turn to remove the pegs. Repeat this on the opposite end of the rail. The rear end does not have a center peg.
  1. Each end of the rail should have all pegs removed.
  1. Depending on the spacing of the holes on your rack, the L-bracket on the end of the rail may fit around the upright, facing outward, or may need to be placed behind it, as pictured. Here, the screw threads through the rack and then into the threads on the end of the rail where the pegs you removed from previous steps were located. Use installer provided screws to secure the rail to the rack’s upright.

<br>

Categories
Video Library Documentation Quick Start Guides Installation Highlighted Video Guides Youtube Video Library Categories Products exacqVision Hardware

exacqVision A-Series Quick Start Video

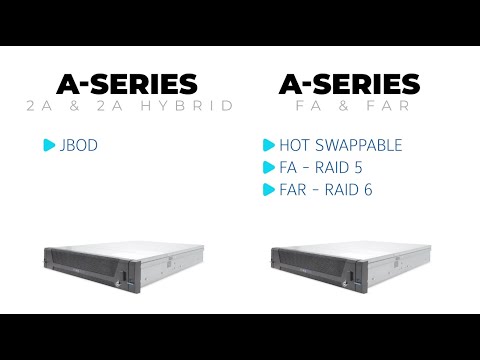
The A-Series Network Video Recorders from Exacq provide a versatile range of options and are some of the most popular choices for most users. Choosing the best model for your deployment will be largely based on your storage and configuration needs. This video compares features of A-Series NVR models and steps through unpacking and setup.<br><br>

Chapters:<br>
00:00 Intro<br>
00:15 Unboxing<br>
01:03 Model Comparison<br>
02:06 Port Identification<br>
03:30 Rack Installation<br>
05:18 Hard Drive Installation<br>
06:08 Setup<br>
07:09 Licensing<br>

Related Articles

Installing A-Series Rails on Racks with Threaded Round Holes

<br>

Categories
Video Library Documentation Quick Start Guides Installation Highlighted Video Guides Youtube Video Library Categories exacqVision Hardware Products

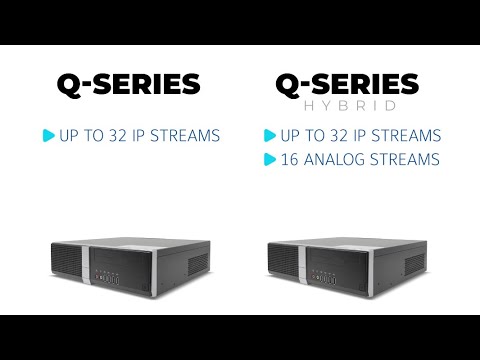
exacqVision Q-Series Quick Start Video

The exacqVision Q-Series brings together an optimal combination of performance and affordability into a single network video recording solution available in hybrid or standard models. This video will introduce you to the hardware and walk through initial setup.<br><br> Chapters<br> 00:00 Intro<br> 00:19 Unboxing<br> 00:38 Specs<br> 01:49 Setup<br> 03:16 Licensing<br>
Categories
Documentation Quick Start Guides Categories Products exacqVision Hardware

Installing X-Series ReadyRails on Racks with Threaded Round Holes

The ReadyRails that ship with exacqVision X-Series NVRs are designed to be toolless when used with server racks that have square or unthreaded round mounting holes on the rack uprights. The following guide describes how to adapt these rails, using tools, for use with rack uprights with threaded round screw holes.

  1. Examine the each end of the rail and take note of the pegs, as indicated in the illustration below.
  1. Insert a flathead screwdriver into the slot at the end of each peg and turn to remove the pegs. Repeat this on the opposite end of the rail.
  1. Remove the end plate. Repeat this at the opposite end of the rail.
  1. Fit the L-bracket on the end of the rail around the upright, facing outward. Use installer provided screws to secure the rail to the rack’s upright. Use the bottom of the bracket for front/rear alignment as the bracket holes are in different positions on the front and rear of the rail.

<br>

Categories
Video Library Quick Start Guides Installation Highlighted Video Guides Youtube Video Library Categories exacqVision Hardware

exacqVision C-Series Quick Start Video

The latest C-Series systems from exacqVision provide ready-to-go live-monitoring stations for your exacqVision users, without the need to design your own systems or check specifications to display multiple video streams. These systems are built to achieve specific decoding and frame rates to meet the needs of video security users.<br><br> Chapters<br> 00:00 Intro<br> 00:27 Unboxing<br> 01:21 Model Comparison<br> 02:26 Port Identification<br> 03:26 Setup<br> 03:42 VESA Mount<br> 04:47 First Startup<br>
Categories
exacqVision Server Edge Documentation Quick Start Guides Illustra exacqVision Server Categories Products

Setup and Licensing exacqVision Edge/Edge+

Description

exacqVision Edge is a complete video management system (VMS) software solution that runs directly on an IP camera and stores video to an microSD/SD card inserted in the camera.

Supported Devices

Use the filters on the exacqVision IP Camera Integration database to search for devices that support exacqVision Edge.

Installers

Download the appropriate installer for your device. Installers are listed by device model on the Software Downloads page.

Upload

Devices will vary by manufacturer and firmware version. The steps for Illustra IQ cameras are depicted below.

  1. Log into the device through the web browser interface. Out-of-box or factory defaulted devices will likely require steps to choose basic device settings and configure the administrator user account and credentials. Refer to the device’s documentation for details.<br><br>
  2. Locate the application management page within the device. Pictured below, Illustra IQ devices feature an Applications page from within the Applications menu.
    <br><br>
  3. Select the installer file previously downloaded from Exacq.com to upload.


    NOTE: Some cameras may not allow the application to upload until a microSD/SD card has been inserted, formated, and mounted.<br><br>
  4. Uploaded applications typically begin running automatically after uploading. If the application does not appear to be running, use the device controls to start the application.
    <br><br>
  5. The exacqVision Edge application is NOT licensed through the device itself. Disregard the License option within the camera’s web interface and proceed to the Licensing steps below.<br><br>

Licensing

  1. If you have not already done so, download and install the exacqVision Client software on a workstation you intend to you for viewing and management of the Edge device.<br><br>
  2. Within the exacqVision Client, use the cog wheel icon to access the Configuration screen.<br><br>
  3. Navigate to the Add Systems page and add the Edge VMS using the IP address of the camera you installed the Edge application on as the server Hostname/IP Address. Rather than entering the credentials to log into the camera, the system credentials will still be default. Enter the following for intial setup:
    Username: admin
    Password: admin256<br><br>
  4. Upon initial connection with the default credentials the exacqVision software will prompt you to change the default credentials to those known only to you.<br><br>
  5. After changing the Edge Server credentials, you will see the exacqVision Server appear on your system tree to the left. Expand the server node and click to select the Configure System option.
    <br><br>
  6. Select the System tab from the top of the Configure System page.<br><br>
  7. Within the License section of this page, either manually enter the license key or use the Import button options to upload the license key to authorize your Edge application.
    <br><br>
  8. Navigate to the Add IP Cameras page and confirm the camera is now shown as connected in the IP Camera List. It is normal to see that the Address is 127.0.0.1 because the Edge application is running directly on the camera, thus it will display the local loopback address rather than the networked IP address of the camera.
    <br><br>
Categories
Documentation Quick Start Guides exacqVision Mobile exacqVision Webservice Categories Products

exacqVision Mobile Connection Changes

The most recent release of the exacqVision Mobile app represents a departure from the previous functionality of Exacq Mobile 3. Previous versions of the mobile app connected to the exacqVision Web Service. The Web Service acted as a client to the Server, passing video between the server and mobile app.

Changes in the architecture of the exacqVision Server along with a mobile app rewritten from the ground up now allow the mobile app to connect directly to the exacqVision Server. 

The exacqVision Web Service will continue as a product but will no longer be needed for those using the exacqVision Mobile app. When installing the exacqVision Server Bundle users may opt not to install the Web Service. Deployments which will still require the Web Service will be those in which users use the Web Browser Client, cannot update the exacqVision Server to a version supporting this, or which rely on the evWebAPI for integrations. 

<br>

Categories
Cloudvue Cloudvue Cameras Documentation Quick Start Guides Cloudvue Gateway Categories Products

Cloudvue Networking Diagrams

Cloudvue Gateway

<br>

Cloudvue Camera to Cloud (C2C)

<br>