Description
Axis thermal cameras provide heat-based detection for monitoring property or detecting thermal anomalies which could lead to incidents involving smoke or fire. This guide is intended to introduce the use of these devices with your exacqVision VMS software.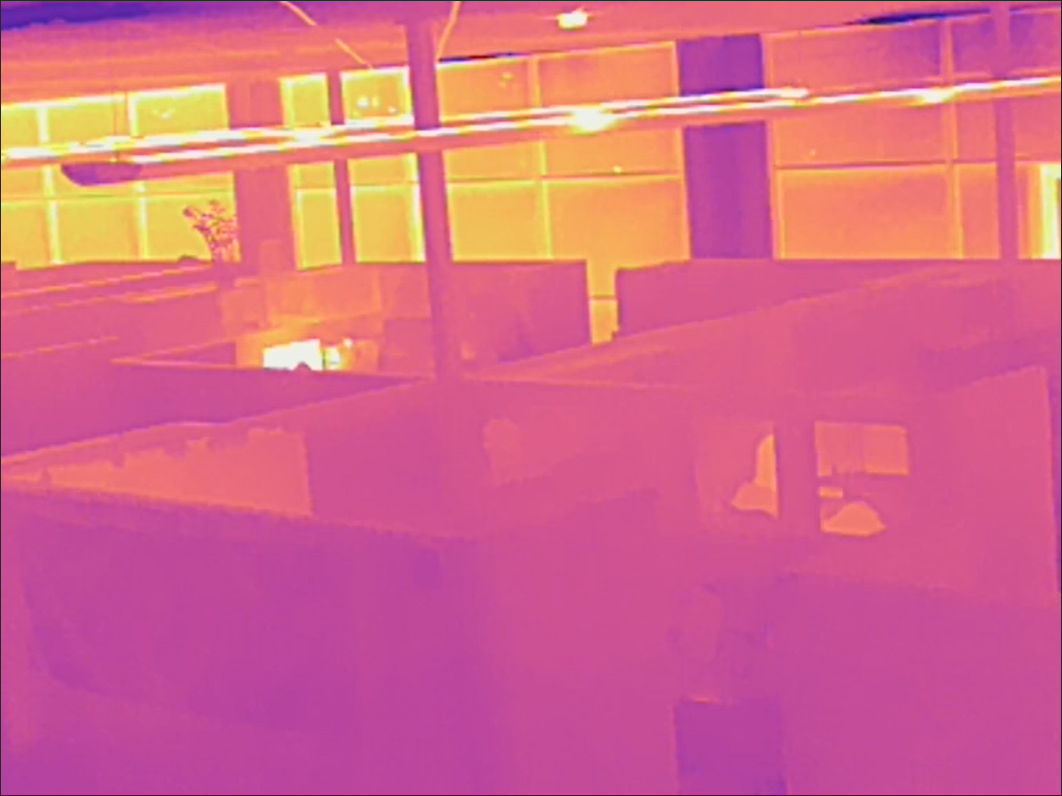
Requirements
- Axis Q19 Series Camera
- Camera firmware 11.8 or higher
- exacqVision Server/Client 24.09 or higher
At the time of writing this article, these instructions pertain to the Axis Q19 Series of cameras and assume you have already located the device on your network and logged into the web browser interface.<br><br>
Thermometry Configuration
Detecting a Temperature Change (Temperature Tripwire)
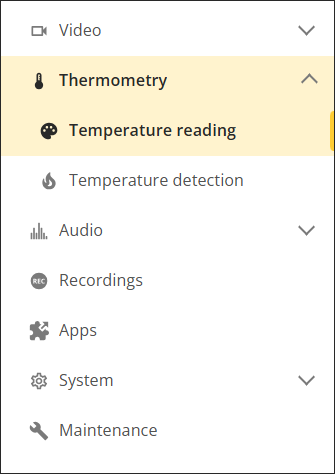
- Expand the Thermometry menu from the left-hand side, then select Temperature Reading.
 <br><br>
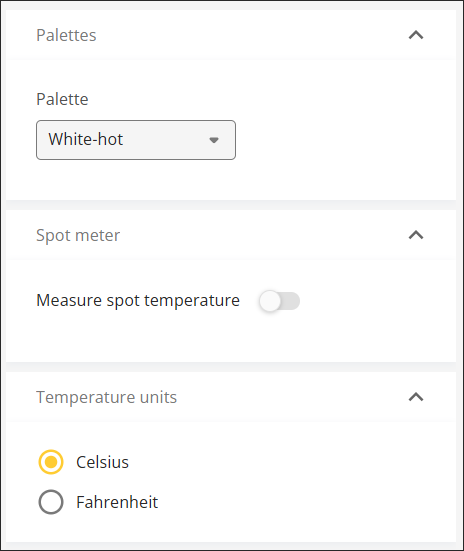
 - Select a color palette of your choice from the Palette menu on the right.<br><br>
- Set the Temperature unit you intend to use, either Celsius or Fahrenheit.
 <br><br>
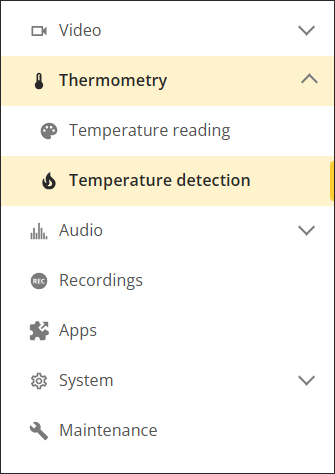
 - Select Temperature detection, beneath the Thermometry menu on the left.
 <br><br>
 - Back on the right, select Add detection area.
 <br><br>
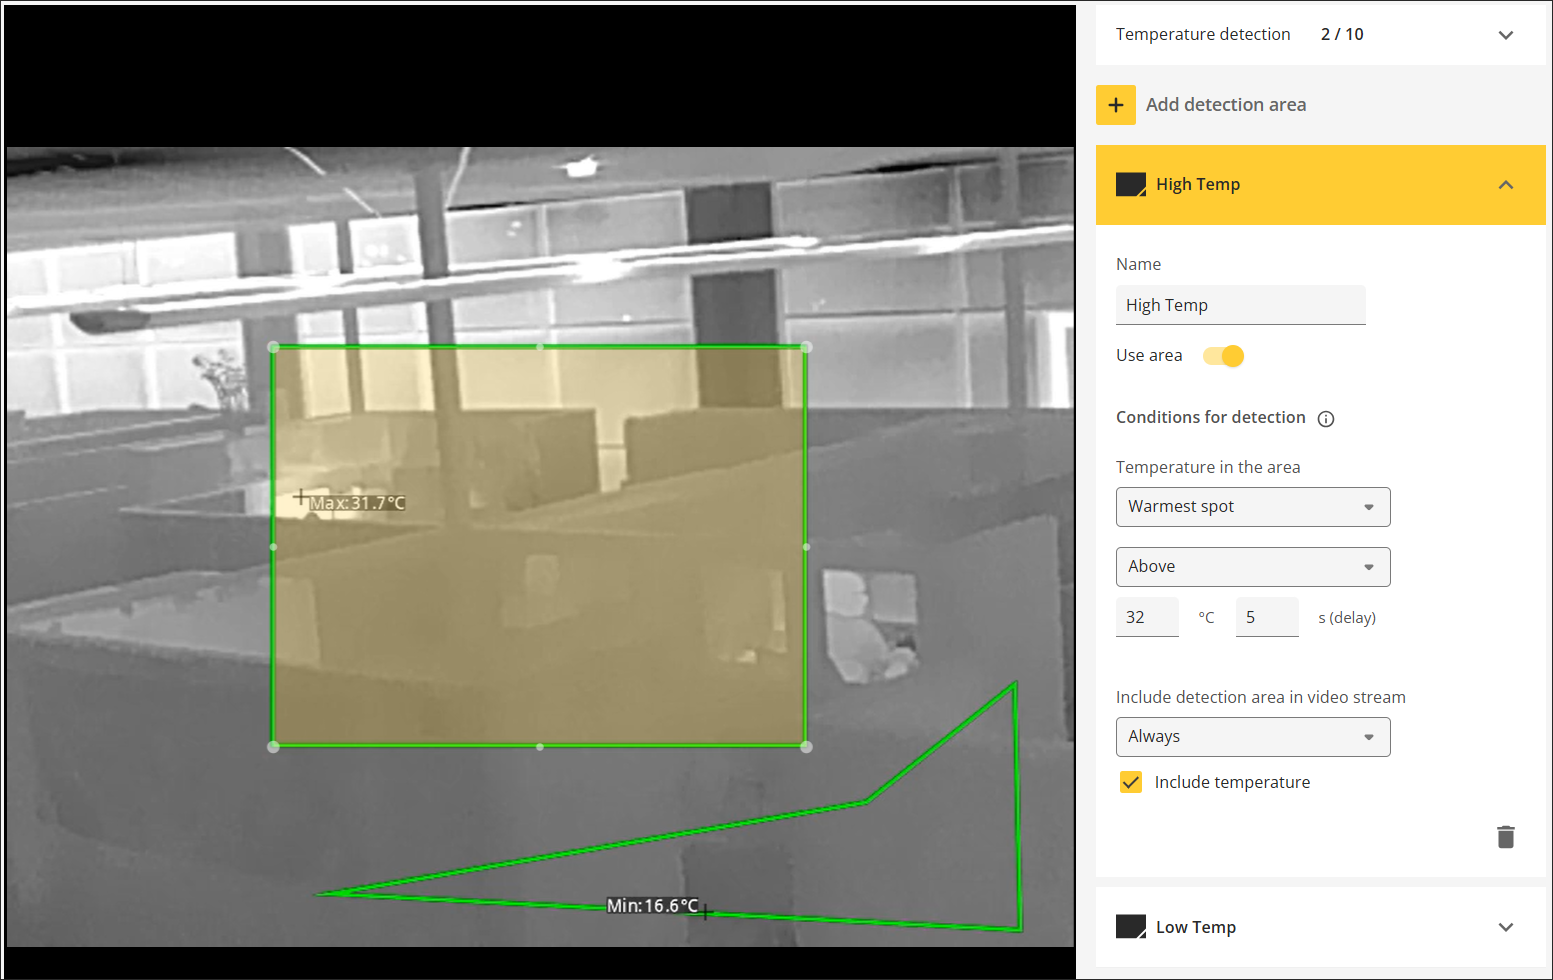
 - Use the handles to drag out the bounding area on the video panel to highlight the polygonal area of interest.<br><br>
- Provide a descriptive name in the Name field, such as “High Temperature” or “Low Temperature” depending on what you may be concerned about sensing.<br><br>
- Enable the Use area control to enable monitoring this detection area.<br><br>
- Set Temperature in area choice.
- If detecting a high temperature is desired, choose ‘Warmest Spot’ from the Temperature in area options. Then select ‘Above’ and enter the temperature degrees you wish to be alerted at.
- If detecting a low temperature is desired, choose ‘Coolest Spot’ from the Temperature in area options. Then select ‘Below’ and enter the temperature in degrees you wish to be alerted at.<br><br>
- You may wish to adjust the Delay field time if some fluctuation is expected in the region. This setting will allow the event to trigger only after remaining above/below the set temperature threshold for a given amount of time.<br><br>
- The Include detection area in video stream selector determines if, or when, the bounding area is included in the video stream as it will be sent to exacqVision.<br><br>
- Checking the Include temperature checkbox will display the detected temperature.<br><br>
Detecting Smoldering Fire
The Thermometry functionality of the camera combined with the Early Fire Detection app may be used to sense if a fire could ignite in a designated area. The early fire detection app filters uninteresting moving objects, to minimize false alarms.
- Expand the Thermometry menu from the left-hand side, then select Temperature Reading.
 <br><br>
 - Select a color palette of your choice from the Palette menu on the right.

NOTE: Axis recommends avoiding the use of palettes beginning with ‘Iso’ for best performance, preferably using the ‘White-hot’ option.<br><br> - Set the Temperature unit you intend to use, either Celsius or Fahrenheit.<br><br>
- Select Temperature detection, beneath the Thermometry menu on the left.
 <br><br>
 - Back on the right, select Add detection area.
 <br><br>
 - Use the handles to drag out the bounding area on the video panel to highlight the polygonal area of interest.<br><br>
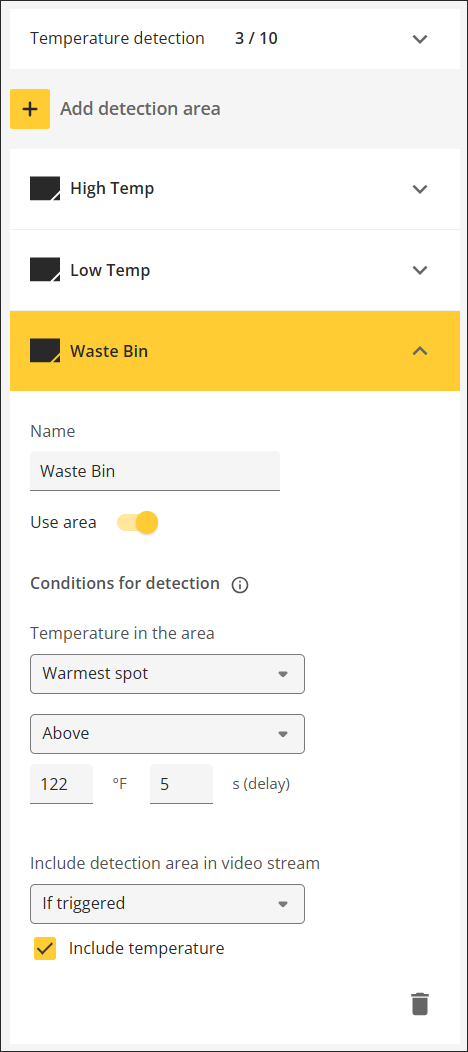
- Provide a descriptive name in the Name field. If you were monitoring a waste disposal area for the potential of a fire, you might name this “Waste Bin”.<br><br>
- Enable the Use area control to enable monitoring this detection area.<br><br>
- Use the Temperature in area control to select ‘Warmest Spot’ and ‘Above’.<br><br>
- Within the temperature field, enter 50°C (122°F)<br><br>
- Open the Apps menu from the left-hand side of the screen.<br><br>
- Enable the Early Fire Detection app.

NOTE: At the time of this writing, this app is a beta release, version 1.2.0.<br><br> - Select the Open button for the Early Fire Detection app.
 <br><br>
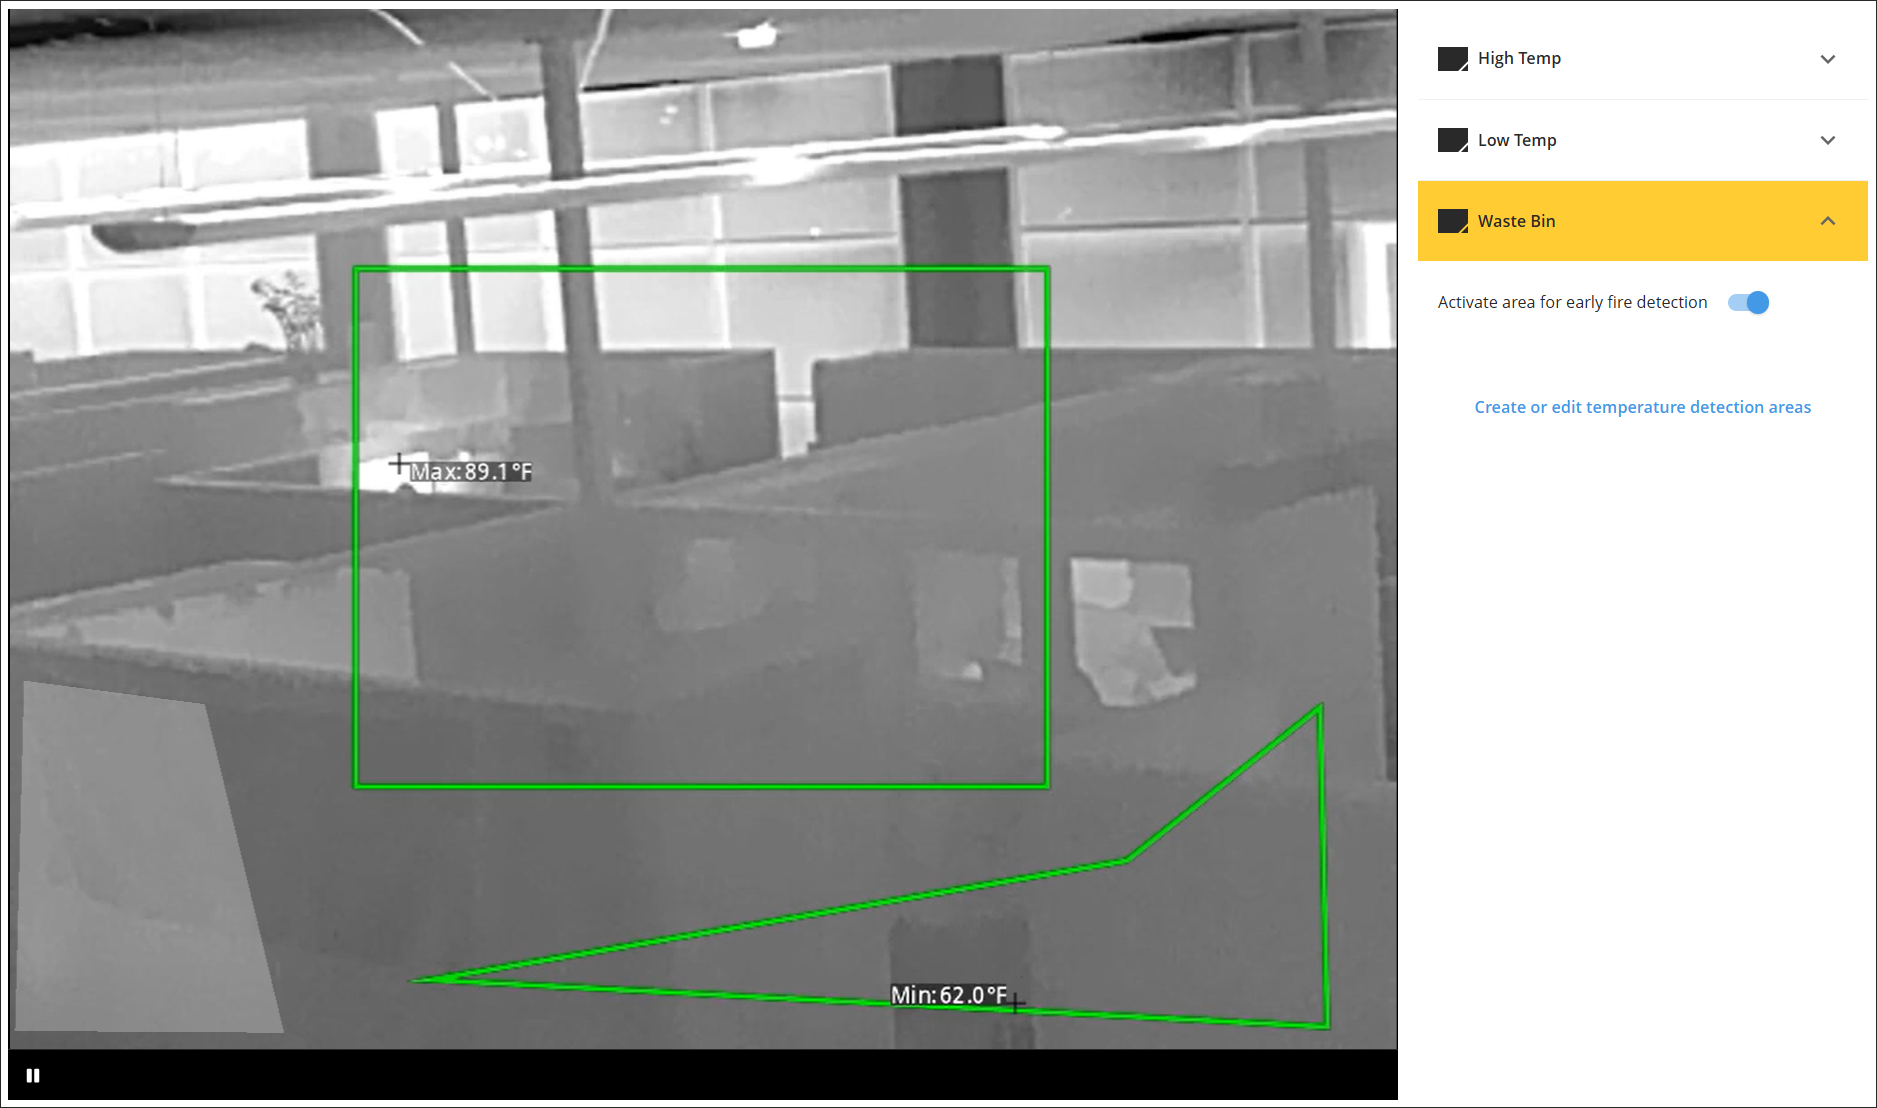
 - Examine each of the defined detection areas on the right-side of the screen to ensure they are active for early fire detection.<br><br>
exacqVision Use
- Add the camera to your exacqVision Server, using the AXIS VAPIX Device Type, following the steps shown in How to Add IP Cameras – Manual Method.<br><br>
- Select the camera from the left-hand navigation tree to reach the camera settings page.<br><br>
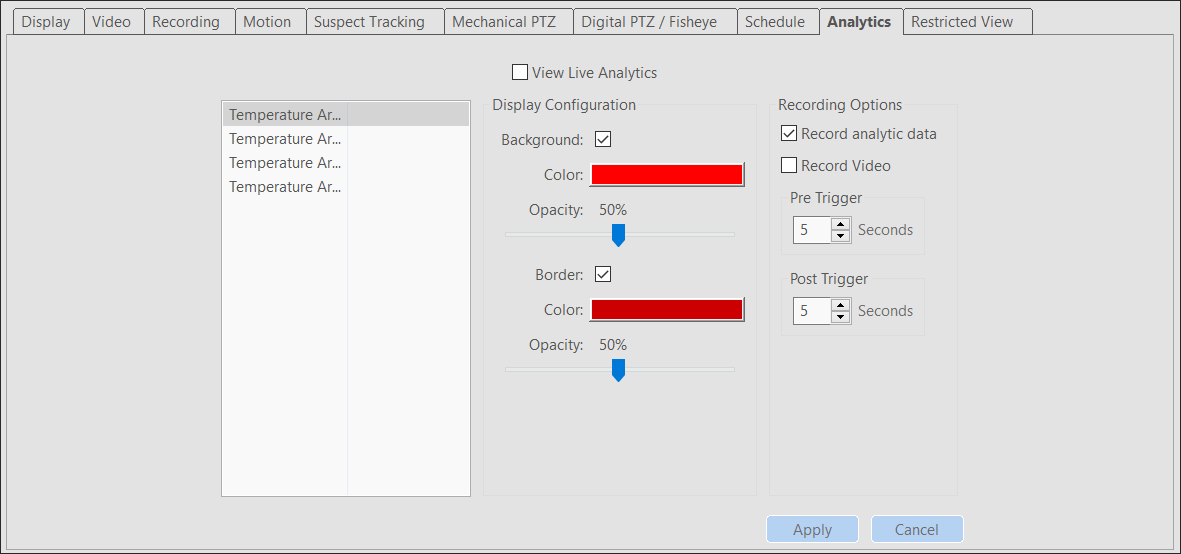
- Select the Analytics tab from the bottom half of the page
 <br><br>
 - A panel lists each analytic from the camera, including each detection region you defined on the camera as well as an ‘AnyArea’ option which acts as an alert when any of the regions have been triggered. Users may define the appearance of bounding areas for each analytic separately.<br><br>
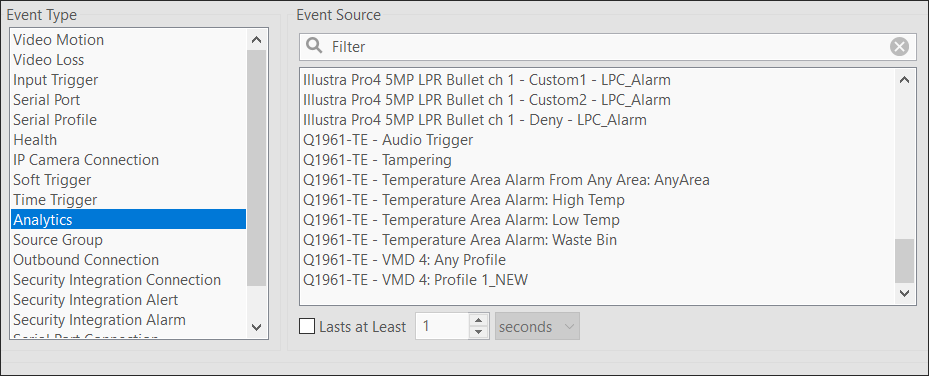
- Users may also configure Event Linking or Event Monitoring actions to occur when any of these analytics are triggered. Use these to perform actions such as sending SMTP email notifications or change views for live viewers. More details on configuring Event Linking and Event Monitoring can be found in the exacqVision Client User Manual or the video links at the bottom of this page.
 <br><br>
Related Articles
<br>