Title
Resizing a Partition on Ubuntu Linux
Description
If the capacity of a Virtual Drive has been increased, then it will be necessary to resize existing partitions.
Product
- Ubuntu Linux 18.04
Overview
- Stop exacqVision Server
- Identify virtual drive mount point and Device
- Unmount the virtual drive mount point
- Launch GParted
- Resize the partition
- Mount the virtual drive mount point
- Verify partition size increased
- Start the exacqVision Server
- Check storage size, status, video both existing and new in the exacqVision Client
Terminal Commands
- Open Terminal (Applications > System Tools > Terminal)
- Note: See Terminal Commands Start to Finish below for a detailed example
- Stop the exacqVision Server service
- List block devices and mount points
- Unmount the virtual drive storage volume
- Launch GParted , the GParted Window will appear
GParted
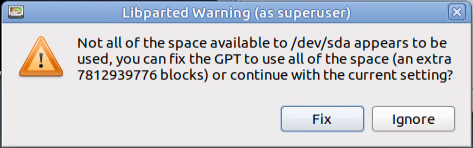
- Note: A Libparted Warning similar to the following may appear, if so, select Fix
- Use the Dropdown to select the device the virtual drive is using in this example “/dev/sda”
- You should now see the existing partition and unallocated space
- Right-click on the existing partition, a context menu will appear
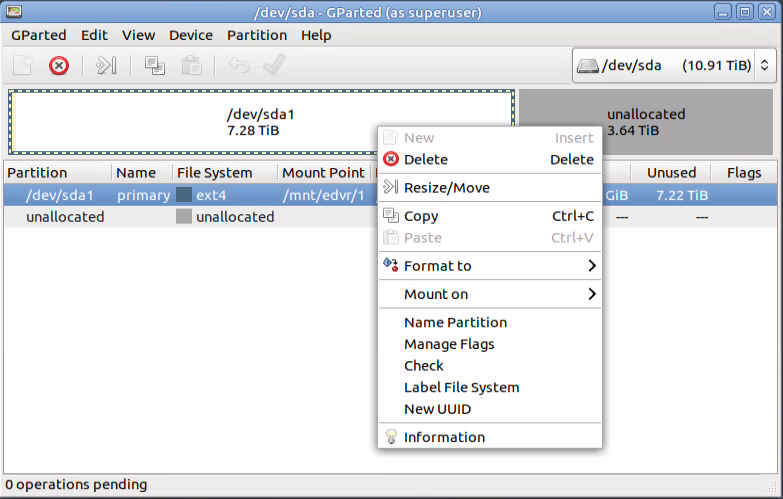
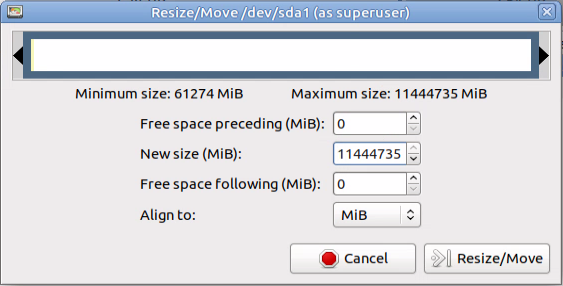
- Select Resize/Move, the Resize/Move window will appear
- Change the New Size (MiB) to match the Maximum size listed
- The Free space preceding and following should now be zero
- Select Resize/Move, the Resize/Move window will close
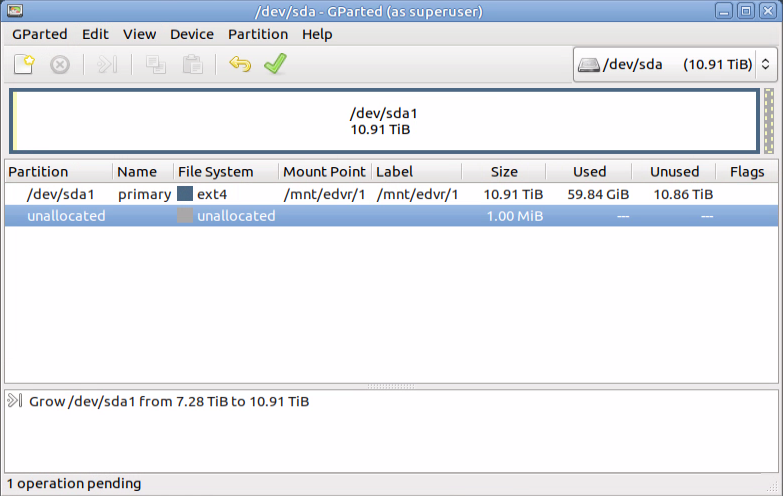
- There should be 1 operation pending to grow the partition
- Click the green check mark to begin the operation
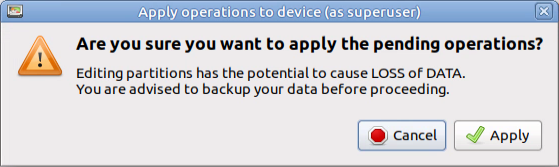
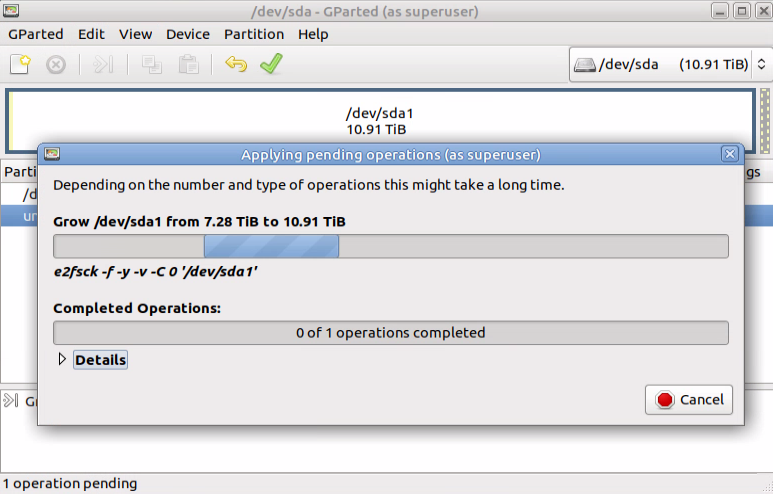
- Select Apply to confirm the operation, the Applying pending operations window appears
- Note: The time will to complete will vary based on the size of the expansion but will typically be 15 minutes or less.
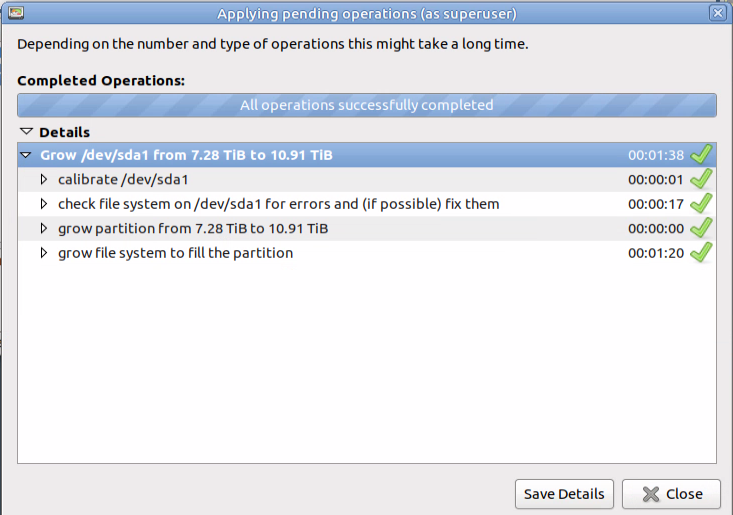
- A green check mark will appear next to the Grow operation when complete
- Click Close
- Close GParted
Terminal Continued
- The Terminal Window should still be open from earlier
- Note: See Terminal Commands Start to Finish below for a detailed example
- Mount the partition
- List device blocks and mount points
- Confirm that the Size of the Virtual Drive mount point has increased
- Start the exacqVision Server Service
- Close Terminal
exacqVision Client
- On the Drive tab verify the Capacity reported is correct and the status is Healthy
- Search for previously recorded video
- Verify current video is being recorded
Congratulations the partition has been successfully expanded
Terminal Commands Start to Finish
