A common request from exacqVision users, especially those monitoring interview rooms is to be able to toggle on and off recording of video and audio. It can become inefficient and confusing to create multiple soft triggers to record both video and audio, and even more so if you have multiple cameras or microphones in the same room.
In the following example, we will show how to set up a single soft trigger to record video and audio from multiple cameras and microphones. A soft trigger is a button used in the software to activate some action. You could use other event types to trigger recording, such as Video Motion, but for this example we will be creating a soft trigger. We will also show how to apply this trigger as a camera association. Camera associations were introduced in Client version 7.0.
NOTE: As always, consult your local laws/ordinances regarding the legality of recording audio.
Start by navigating to the Event Linking page.

Press the New button at the bottom to make a new Event Link.
From the Event Type panel, select Soft Trigger.
Because we don’t already have a soft trigger to select, we need to click the New button under the Event Source panel to make one.
In the pop-up window, give the soft trigger a name, something descriptive so that in the future you can remember what it does. In this example, we will call it ‘Record Room 1’. Click OK.
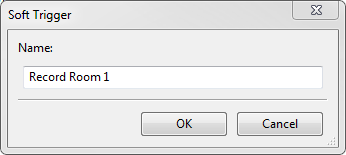
Our new event in the main Event Linking panel is now listed with ‘Record Room 1’ as the source. Now we need to choose an action to tell it what to do. From the Action Type panel select Record Video.
When you select this, the Action Target panel populates with a list of cameras. Select the camera you want to record.
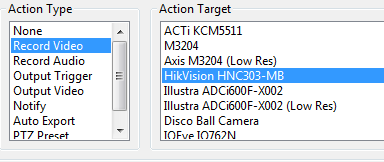
Click the Apply button at the bottom of the page to save your Event Link.
Now in the main Event Linking panel we see the entire link we created.

The event above only records video when activated, but we want to record audio too, and without pressing a second button to record audio. To do this, you’re going to select the New button at the bottom of the page again and select Soft Trigger from the Event Type panel again.
We’ve already created a soft trigger called ‘Record Room 1’ so select this from the list in the Event Source panel.
In the Action Type panel, you’re going to select Record Audio. Now the Acton Target panel shows a list of your audio inputs. Select the one you are going to record with this video.

Our list of Event Links now looks like this:

We can test this new soft trigger by going to Live Mode in the client. Bring up the camera that you selected in Event Linking and choose the Soft Trigger icon from the tool bar at the top of the client window.

When the Soft Triggers window opens, toggle the state of the trigger by clicking in the check box on the left. You will see the Status column change from Normal to Alarm.

When you uncheck the box, the status will return to Normal. When the state is Alarmed you will also see the border around the camera view change to Red, indicating that it is recording due to an event.
Now to confirm that it recorded video and audio, navigate to the Search page. Select your camera and expand the navigation tree to select your audio input. Change the search range to the last few minutes. When you click on Search you should see the timeline display red bars for the time period you activated the soft trigger.
If you have multiple cameras and microphones that you want to record at once you can create additional Event Links all with the same soft trigger as their event source.

Once the soft trigger is created and the event links have been made you can end here. If you want to make use of Camera Associations to make this new soft trigger easy to find and activate when you need it, continue below.
Navigate to the Settings page for the camera you want to place the association button on and select the Associations tab.
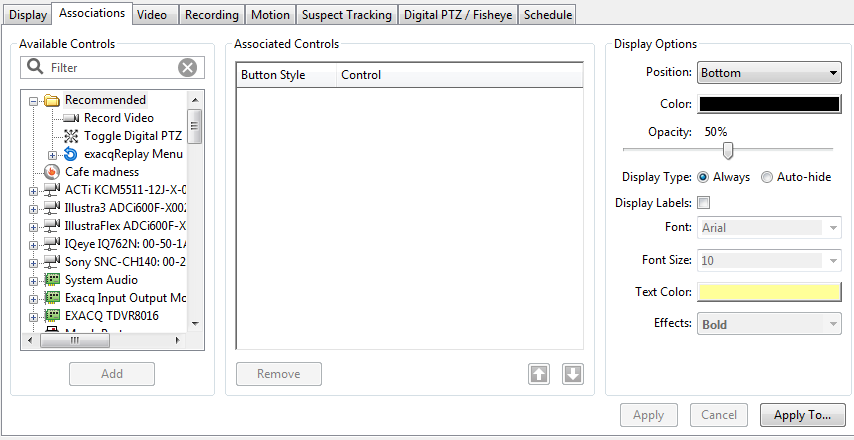
The list of available controls is automatically populated and has an option for Record Video… but that is not the soft trigger we made earlier and will only record video and only for this one camera. If we want to use our fancy multi-camera, video and audio recording soft trigger we made earlier, scroll down towards the bottom where all system wide soft triggers are listed.
Here you can double-click, or highlight the soft trigger and click the Add button to move it to the Associated Controls panel.

When the soft trigger is moved to this window you will also see the new association appear in the camera panel above.

Right now this association icon is set to Sustained. That means it is a toggle. Press it once and it stays activated until you press it again. If the action permits you can use the drop down to change this to Display Only, which prevents you from pressing it to activate anything, or you may change it to Momentary, which only activates it for as long as you hold it.
To the right, you also have display options such as the background color, opacity and whether or not to display a label to make it easy for other users to tell what this does.
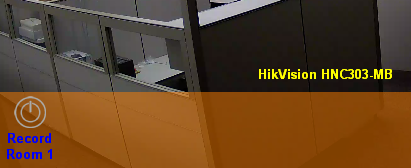
If your soft trigger records multiple cameras you might consider placing this same association on each camera panel that it records. This would make it easier to toggle on and off and see the status regardless of which camera in that room you were looking at.

Camera associations are a server side setting, meaning all users connecting to this server will see these. If you use custom user groups you can control whether or not specific user accounts can activate them.
But if your server administrator hasn’t applied camera associations, or if you plain don’t like camera associations on top of your camera panels there is another option for an easy to reach soft trigger, called an Event Button. Event buttons are client side, meaning only the user on this particular client instance will see them and you must be logged in as that user to create it.

In the Client settings, the Event Button configuration is on the right.
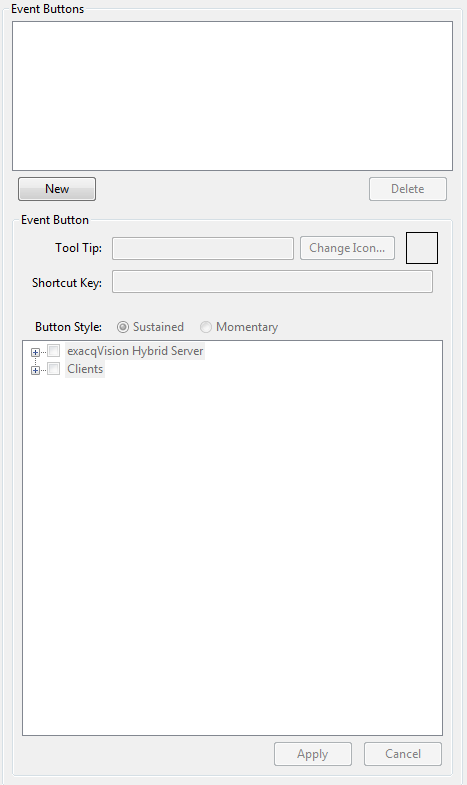
Click on the New button under the Event Button panel. Give the button a descriptive Tool Tip name and use the Change Icon button to select from a pre-configured set of ready-to-use icons. Optionally, you may choose to enter a shortcut key to press on the keyboard to activate it.

In the panel below you will select the soft trigger you want to associate this with and you may also choose to make it a sustained button (toggle) or momentary (press and hold). Click the Apply button to save.

After you’ve saved this, you will see this new button appear in Live Mode on the tool bar across the top of the client window.

<br>