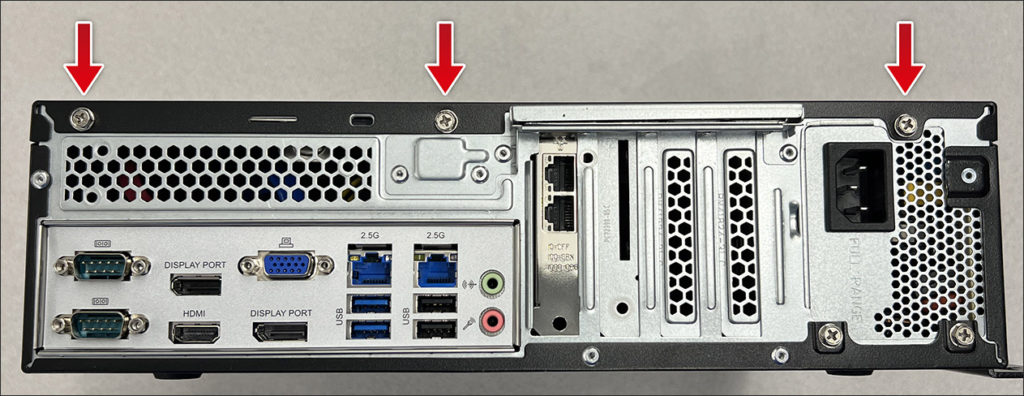
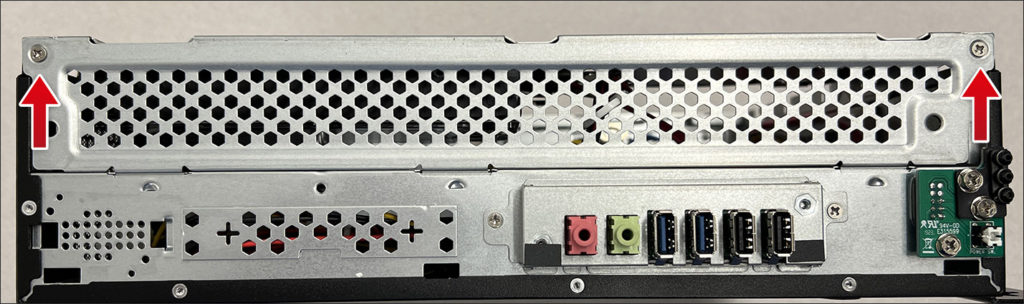
- Looking at the rear of the system, remove the three screws indicated in the illustration below.
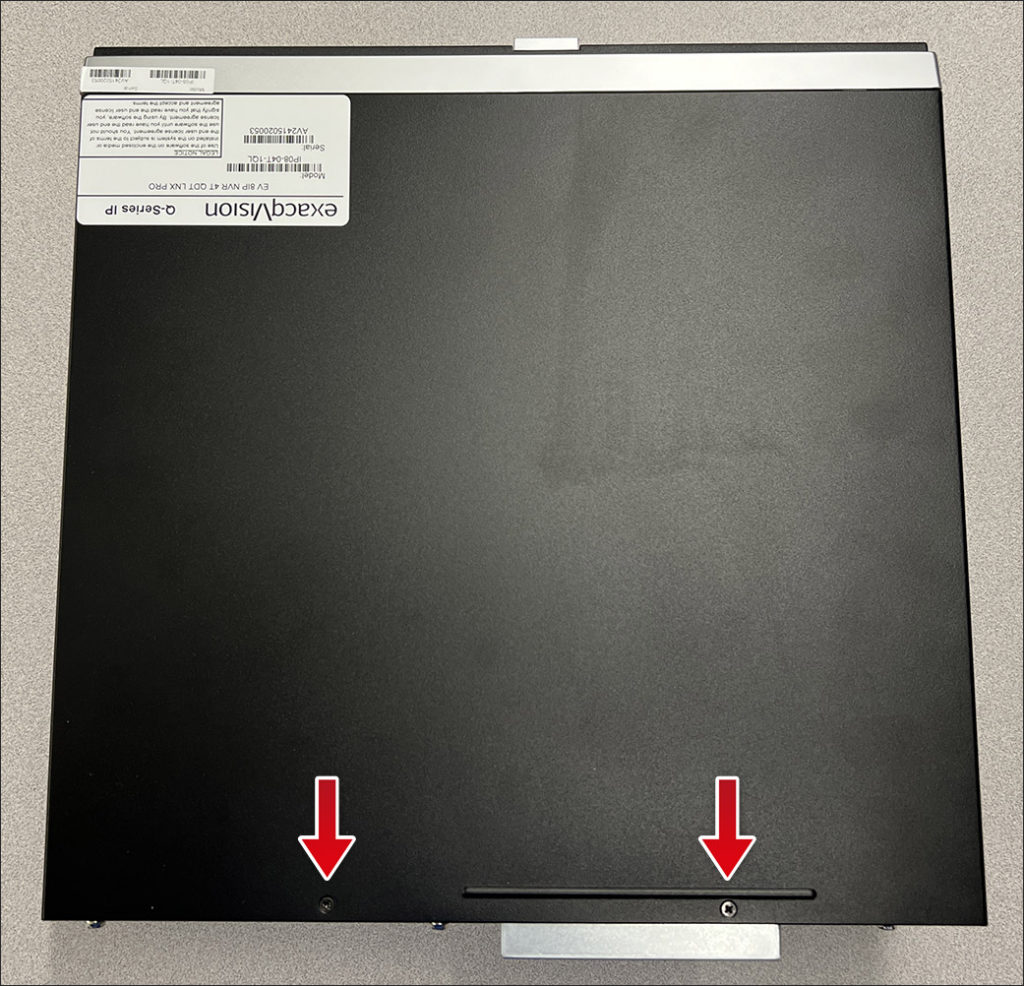
- Looking at the rear end of the top cover, remove the two screws indicated below.
- Slide the top cover towards the rear and pull off to remove it from the chassis.
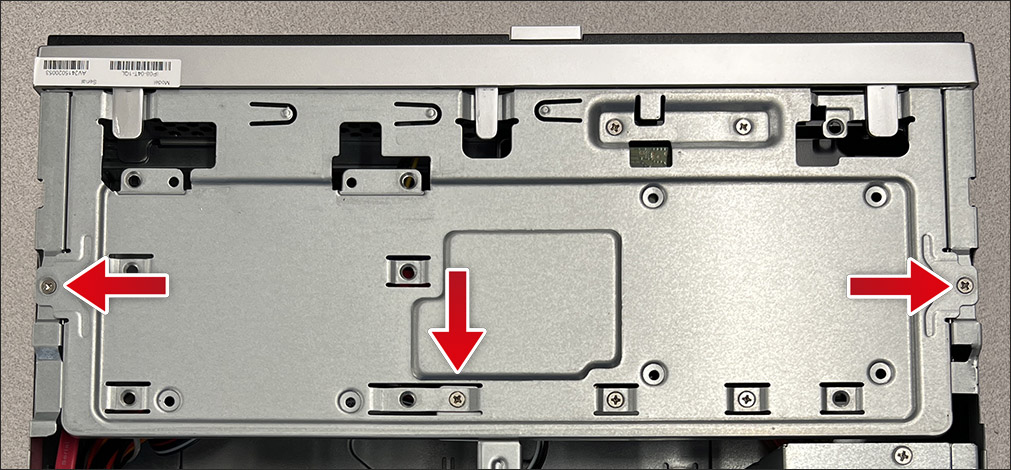
- Remove the three screws indicated below.
- Remove the front bezel by lightly lifting the tabs indicated and rotating the top of the bezel away from the chassis.
- With the front bezel removed, looking at the front of the system, remove the two screws in the upper corners as indicated in the image below.
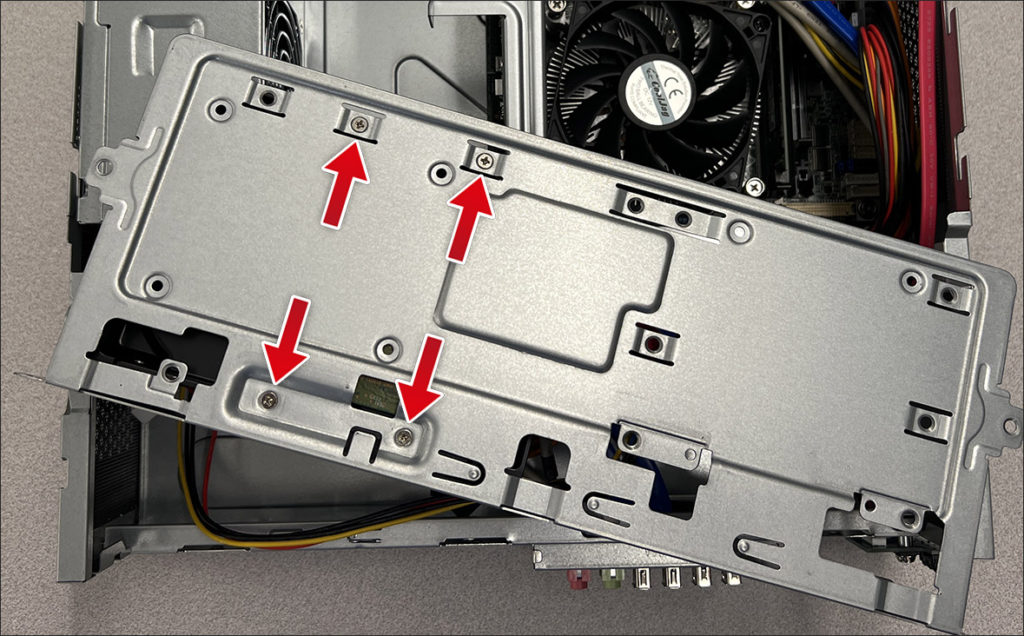
- Lift the drive plate to separate it from the chassis. Remove the hard drive retaining screws shown in the image below, supporting the drive from underneath.
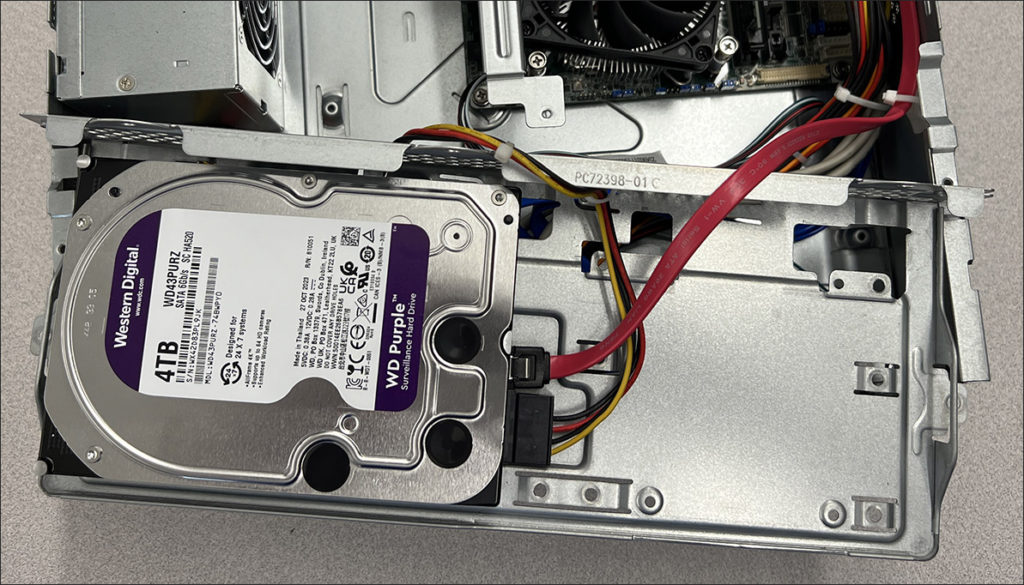
- Detach the SATA power and data cables from the hard drive and attach to the replacement drive. Reverse the steps above to reassemble the system.
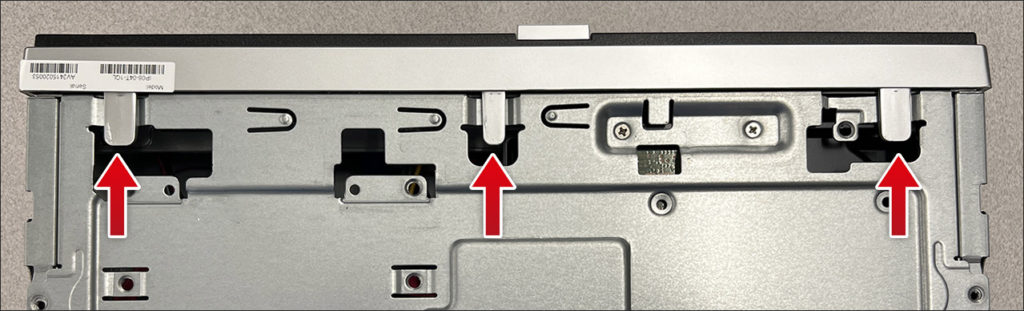
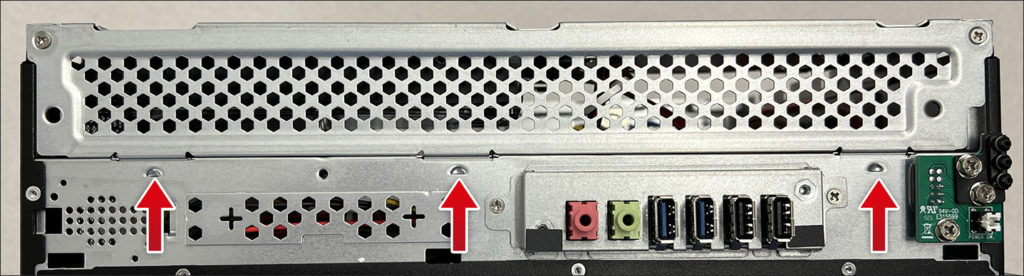
- When reattaching the drive plate, fit the three tabs on the front of the plate into the slots as shown.
<br>