Categories
Video Library Cloudvue Installation Cloudvue Access Control Youtube Video Library Categories Products

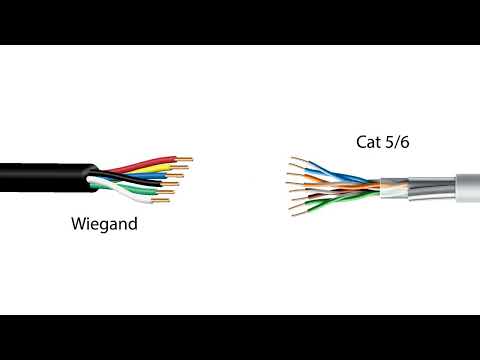
Kantech ioSmart Reader Panelless Installation Wiring

This video details the wiring connections for installing the Kantech ioSmart Reader for panelless installations. Panelless mode involves independent ioSmart Readers for access control without connecting to control panels and uses your smart phone device as your access key.
Categories
Configuration Cloudvue Video Library Highlighted Video Guides Cloudvue Access Control Youtube Video Library Categories Products

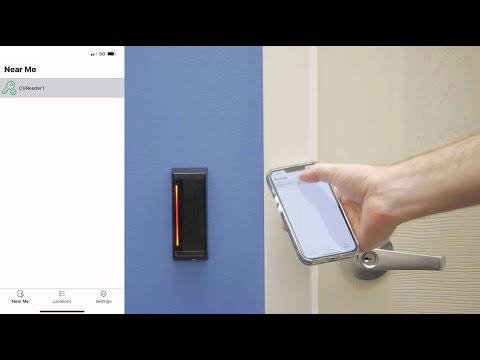
ioSmart Reader Panelless Enrollment

Learn how to enroll a Kantech ioSmart Reader in panelless mode for use with Cloudvue access control.
Categories
Cloudvue Release Notes Other Categories Products

Cloudvue 22.9 Release Notes

Cloudvue-22.9-Release-Notes.pdf
Categories
Cloudvue Release Notes Other Products

Cloudvue 22.4 Release Notes

Cloudvue-22.4-Release-Notes.pdf
Categories
Knowledge Support Support exacqVision Client Categories

Video Shows in Timeline but Not Playing Back on Remote Client Workstations

Description 

When searching video from client workstations, results will display in the timeline, but users are unable to playback video.
NOTE:  The same search can be performed from the exacqVision Client running on the NVR and works normally.  

Product 

  • exacqVision Client 22.09.03 and 22.12.05

Steps to Reproduce 

  • From the exacqVision Client search for older video.  Note this has been observed when searching video older than 10 days but may vary.

Expected Results 

  • Results are returned and video can be played back

Actual Results 

  • Results are returned but video will not play back

Workaround

  • Video can be exported and will playback normally in the exacqVision Player
  • Video will also playback in the exacqVision Thin Client if exacqVision Web Server is configured

Engineering is currently investigating, see AES-294 for additional details

Categories
Knowledge Support Support exacqVision Client exacqVision Server Categories

Exacq archived clips on Cloud Drive are searchable via exacqVision Client software only

If you have exacqVision Server archiving your data on Cloud Drive, then the only way to search your data supported by Exacq is through ExacqVison Client.

The client Software has to be connected to the server at least once to save the cloud drive information and allow you to communicate with the cloud drive. And search for archived videos.

Categories
Knowledge Support Support exacqVision Mobile exacqVision Webservice

exacqVision Web Server Black Screen Troubleshooting

Description 

Troubleshooting steps to try when Exacq Mobile 3 or exacqVision Browser/Thin Client returns blank black screens instead of live video.

Product 

  • exacqVision Web Server
  • exacqVision Browser/Thin Client
  • Exacq Mobile 3

Steps to Reproduce 

  • Access cameras via Exacq Mobile 3 or exacqVision Browser/Thin Client

Expected Results 

  • Live view of selected cameras is visible

Actual Results 

  • Blank black screens appear were live video is expected

Possible Solution

  • Update to the latest version of exacqVision Web Server
  • Determine if Restricted View Window “RVW” is in use
  • Set fps to  <= 10 
  • Set quality to <= 5

Pro Tip

With the permission of the Integrator/Customer create a temporary user which will allow you to test both the Web Browser/Thin and Mobile Clients from your machine.
Important: Please remember to remove the temporary user when completed.

Related Knowledge Base Articles

  • #13046 – “exacqVision Web Server 22.09.0 Searches Return Black Screen”
  • #6629 – “Thin Client and Mobile APP will not work when using RVW (Restricted View Window) on Camera”
Categories
Knowledge Support Support exacqVision Server Categories

Refine Recovery Boot Loader Splash Screens

Description 

Definitions for exacqVision Server Recovery splash screens for systems using the refine boot loader.

Product 

  • exacqVision Server

Solution

Exacq systems have migrated to a new boot manager called refine.  This new manager has a new look with the same and more functionality than the previous grub boot manager.

The new splash screen is icon driven and is displayed when UEFI booting from a deployment key or for 8 seconds.  There are two versions of the screen with just slightly different functionality.

From a Deployment Key

  1.  Deployment       –  This is the default action and will autorun if no other option is chosen.
  2.  Wipe Machine   –  Will delete all RAID and all hard drive partition except the USB key.
  3.  Clonezilla            –  Boots the system into a Clonezilla O.S. environment.
  4.  Memory Test     –  Runs  passmark  memory test routine    

From the O.S. – Linux 20.04, Windows LTSC ,  Windows Server 2018

  1.  O.S                         –  This is the default action and will boot the deployed O.S.
  2.  Factory Restore   –  Will overwrite the current O.S. with the images that left the factory
  3.  Clonezilla              –  Boots the system into a Clonezilla O.S. environment.
  4.  Memory Test       –  Runs  passmark  memory test routine    

<br>

Categories
Knowledge Support Support Categories Products exacqVision Hardware Uncategorized

Windows 10 Hostname

Description

From the June 2022 release to the March 2023 release, the Windows 10 hostname will be the default randomized/generated one by Windows, usually something like “DESKTOP-XXXXXXX” instead of the serial number, which either “ERXXXXXXXX” or “CCPXXXXXXXX”.  The fix is planned for the March release of 2023.

This issue affects images for the following release cycles:
June ’22
Sept ’22
Dec ’22

Production begins shipping with the new image about a month after the initial release. So this issue effects machines built between July 15th 2022 through April 14th of 2023.

This only affects/affected Windows 10 and not Windows Server.

Solution

There are several ways to update the hostname in Windows. Below are steps to change the hostname using Powershell.

  1. Open Start menu.
  2. Type Powershell, then right-click on Windows Powershell and select Run as administrator.
  3. Locate the Serial Number of your machine using the sticker on the side, then type the following to update the hostname (replacing <SerialNumber> with your actual Serial Number):
    Rename-Computer -NewName "<SerialNumber>"
  4. Type the following to restart the machine:
    Restart-Computer
Categories
Video Library Configuration Cloudvue Cloudvue Cameras Illustra Youtube Video Library Categories Products

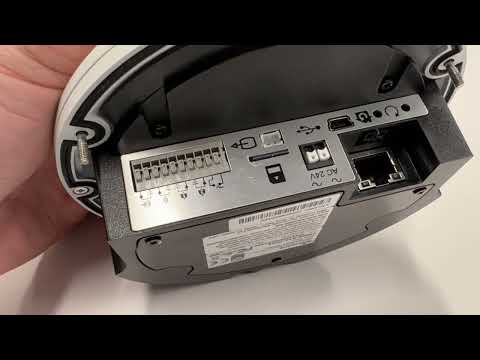
Configuring Illustra Cameras to Cloudvue Mode

Follow steps involved in converting an Illustra IP camera to Cloudvue Mode.