Description
Certain information gathering or troubleshooting tasks such as gathering logs, doing software or firmware updates require remote access to devices. This is where tunneling comes into play and the following instructions explain the process.
Products
- C2C
- Cloudvue Gateway
Tunneling Machine Setup
To properly setup your tunneling machine the following must be completed once. The basic steps are:
- Choose your environment
- Generate an SSH key pair and submit your public key
- Install jq
- Install Visual Studio Code (optional)
- Download and install tunneling scripts
Also available is the How to use tunnel scripts to upgrade firmware remotely video available here.
Choosing Your Environment
For ease of setup and overall usage it is recommend that you choose a machine running Linux. This can be a full VM such as provided by Hyper-V or using the recommended method, Windows Subsystem for Linux (WSL). Ubuntu 22.04.1 LTS or higher is needed and we have found that using WSL supplies access to useful tools such as MobaXterm.
Generating SSH Key Pair Without a Password
A ssh key pair must be generated from the machine you will be tunneling from. An AES ticket should be created requesting your public key (id_rsa.pub) be added to the Cloudvue SSH Tunneling Server and Cloudvue Software releases for C2C devices. Once added to the Cloudvue SSH Tunneling Server you can begin tunneling from your machine to Cloudvue Gateway devices and after the next Cloudvue Software release you will be able to tunnel to updated C2C devices.
To generate an SSH key pair, use the following command:
ssh-keygen -t rsa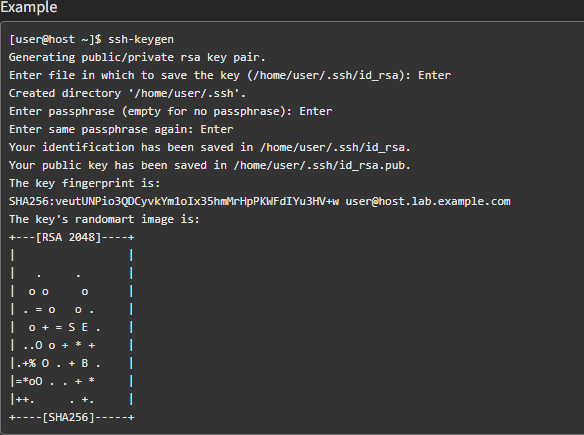
By default, your keys are saved as follows:
Private Key
~/.ssh/id_rsa
- RSA authentication identity
- Should be kept secret
- ssh will read this file when a login attempt is made
Public Key
~/.ssh/id_rsa.pub
- RSA public authentication key
- No need for secrecy
- Will be be added to C2C and Cloudvue Gateway devices for public key authentication
NOTE: A copy of your public key should be attached to the AES ticket requesting ssh access.
Install jq
jq is a lightweight and flexible command-line JSON processor and is required. It can be downloaded from https://stedolan.github.io/jq/download/ or by using the following commands
Use the following command to install jq
sudo apt update
sudo apt upgrade
sudo apt install jq
Install Visual Studio Code in Ubuntu (Optional)
Visual Studio Code is a free, lightweight but powerful source code editor that runs on your desktop and is available for many platforms. It will allow you to easily display the contents of the extracted files especially useful for viewing help information and examples. See the following links for information on various ways to install on VM or WSL.
https://code.visualstudio.com/docs/setup/linux
https://code.visualstudio.com/docs/remote/wsl
Setup Tunneling Scripts
Download the tunneling tar containing the needed scripts HERE
Create a sub folder called tunneling
Copy or move the tarball to the tunneling directory
Use the following command to extract the contents of the tarball
sudo tar -xf tunneling.tar.gzExample

Tunneling
Cloudvue Manager
Access the camera from Cloudvue Manager in this example we will be using the development site instead of production.
Development https://dev-dashboard.cloudvue.com/login
Production https://dashboard.cloudvue.com/login
Search for the desired video device typically by MAC address
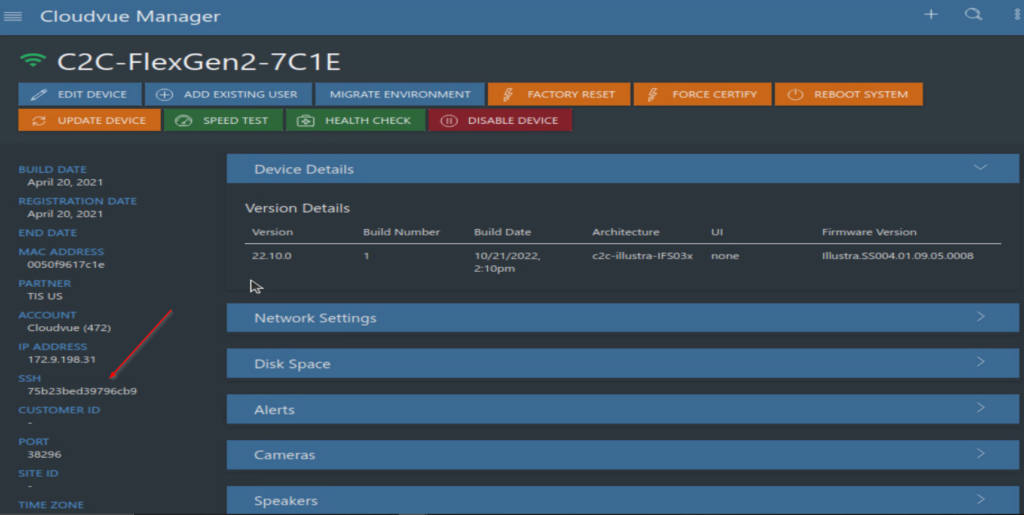
Open the device and Locate the Port Number field in the lower left
NOTE: You won’t see the tunneling option unless your staff user account has a role of either Global Admin or Support Specialist
Enter a random port number then click tunnel

A popup will appear indicating that the tunnel is being created

If successful the following popup will appear

If unsuccessful the following popup will appear, and it will be necessary to repeat the process trying a different port number

Once a tunneling port has been successfully created run the following command from terminal from the tunneling directory (~/Downloads/tunneling) using the port created above
./createTunnel.sh -t 4445The script will return a lot of feedback. However before running other scripts verify that the last line is the same as the following

Back in Cloudvue Manager expand Network Settings to obtain the IP address of the device

Open a second tab or instance of terminal and run the following command from the tunneling directory (~/Downloads/tunneling) using the devices IP Address found in Cloudvue Manager.
./reverseTunnel.sh -u -i 10.1.1.64
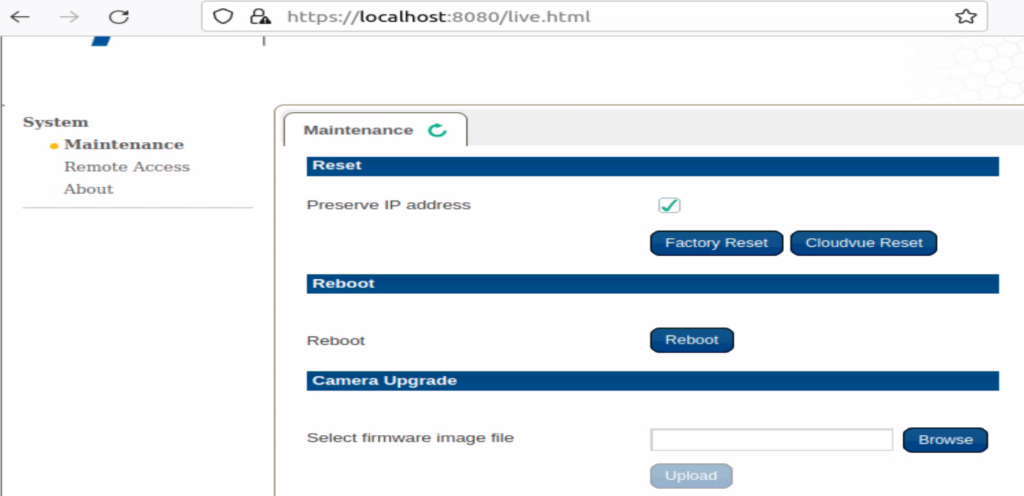
The camera should now be available from a web browser at https://localhost:8080
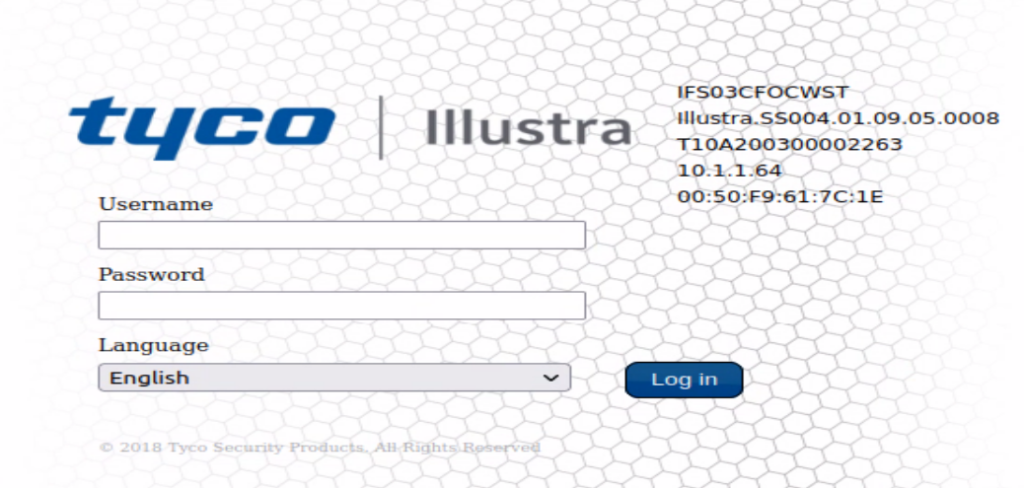
The Username is admin and the password is obtained from the SSH field located on the devices Cloudvue Manager page.
Maintenance Page
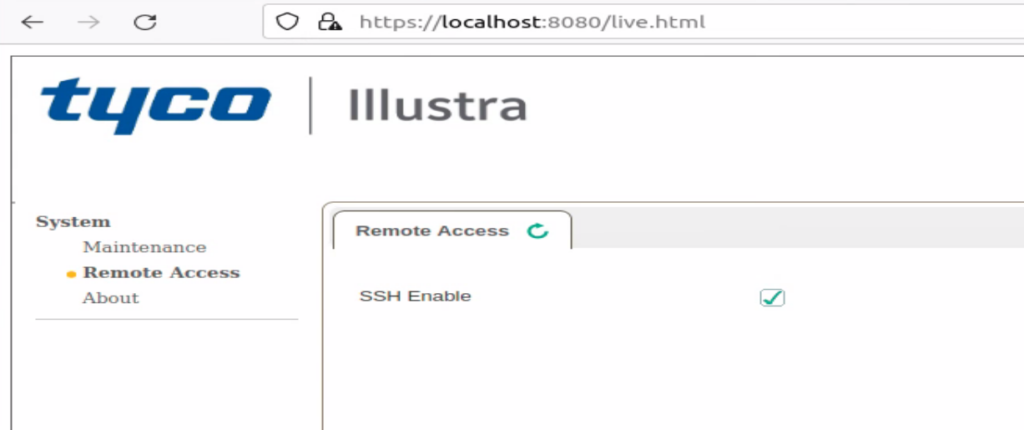
Remote Access Page
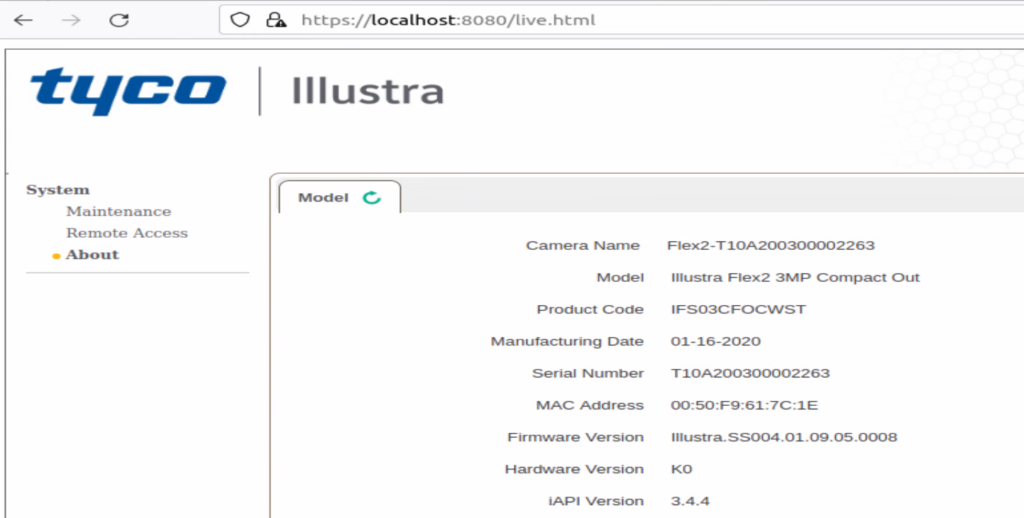
About Page
SSH Access
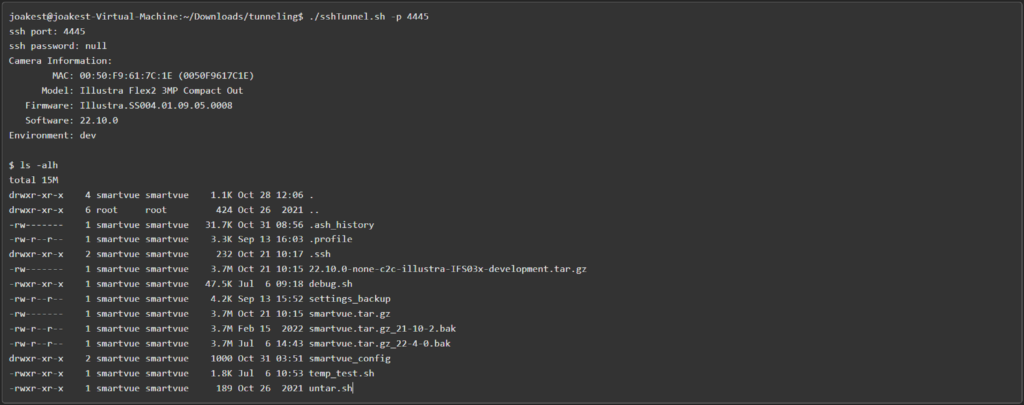
After establishing the tunnel you can run the following command to gain SSH access using the port created earlier
./sshTunnel.sh -u -p 4445Example
